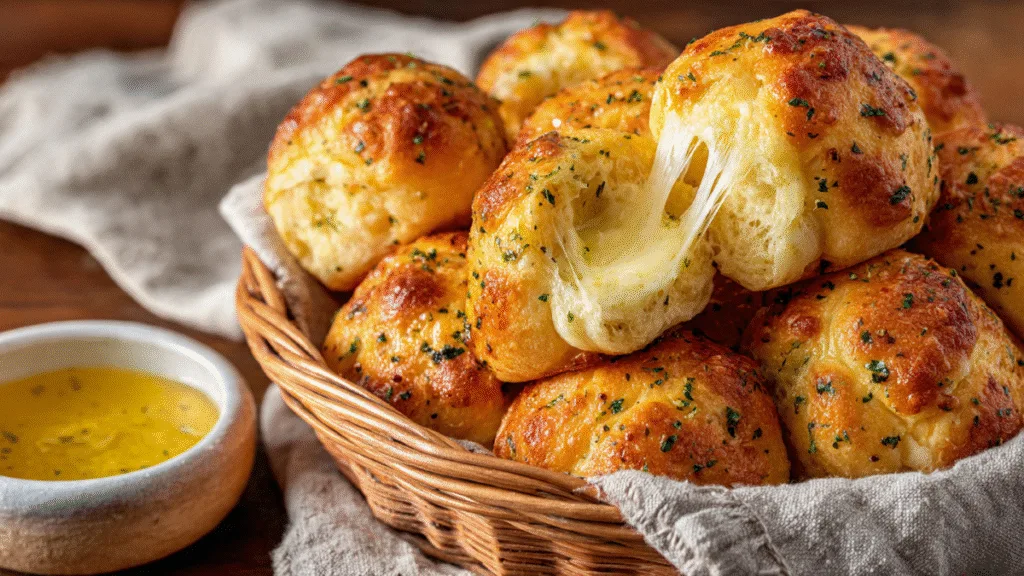
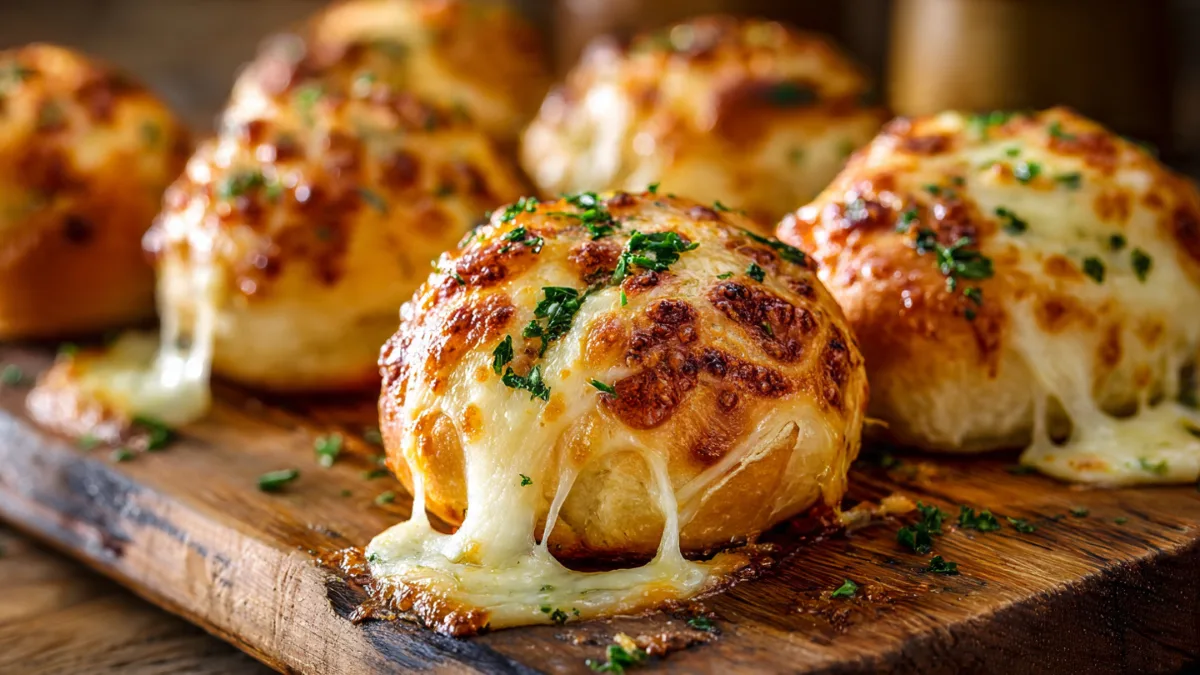
Okay, confession time. If there’s one thing that can instantly make my day better, it’s the smell of cheesy, garlicky goodness wafting from the oven. And honestly, who can blame me? Cheesy garlic rolls are basically little clouds of pure happiness, perfect for any occasion, from a casual weeknight dinner to a full-blown party.
You know that feeling when you’re craving something utterly delicious, a bit indulgent, but also relatively easy to whip up? Yeah, that’s where these rolls come in. I’ve been tinkering with this recipe for ages, trying to nail that perfect balance of fluffy dough, pungent garlic, and gooey cheese. And I think I’ve finally cracked it. So, grab your apron, because we’re about to embark on a delicious baking adventure together.

Why You NEED Cheesy Garlic Rolls in Your Life
Let’s be real, life’s too short for boring bread. These rolls are more than just a side dish; they’re a statement. They say, “I put a little effort in, and it was totally worth it.” Plus, they are fantastic for meal prep baking. Imagine opening your fridge and finding these little gems ready to be reheated – pure genius, right?
The Magic Trio: Dough, Garlic, and Cheese
What makes a great cheesy garlic roll? It’s all about the quality of your core ingredients.
- The Dough: You want a dough that’s soft, slightly chewy, and can hold up to all that delicious topping. My go-to is a simple enriched dough – nothing too complicated, promise! It’s the perfect canvas for our flavorful additions.
- The Garlic: Fresh garlic is non-negotiable. Trust me, that pre-minced stuff in a jar just doesn’t have the same punch. We’re talking about infusing that incredible aroma and taste directly into the butter.
- The Cheese: Oh, the cheese! I usually go for a mix of mozzarella for that epic stretch and maybe some Parmesan for a salty kick. But honestly, use whatever melty cheese makes your heart sing.
Getting Started: Your “Bake Food Recipes” Blueprint
So, you’re ready to dive into the world of bake food recipes and make some magic happen? Awesome! Here’s a breakdown of what you’ll need and how we’re going to tackle this.
Essential Ingredients You’ll Need
Here’s what you’ll be grabbing from the store (or, let’s be honest, what you probably already have hiding in your pantry):
-
For the Dough:
- Warm milk (not too hot, we don’t want to kill the yeast!)
- Active dry yeast
- Sugar (just a pinch to feed the yeast)
- All-purpose flour
- Salt
- Butter, softened
- One egg
-
For the Garlic Butter Topping:
- Unsalted butter, melted
- LOTS of minced fresh garlic (don’t be shy!)
- Dried parsley (or fresh, if you’re feeling fancy)
- Salt and pepper to taste
-
For the Cheesy Goodness:
- Shredded mozzarella cheese
- Grated Parmesan cheese (optional, but highly recommended)
Let’s Get Baking: Step-by-Step
This isn’t some super complicated, “what can I bake that will impress everyone but secretly took hours” kind of recipe. This is a “let’s have fun in the kitchen” kind of recipe.
1. Waking Up the Yeast
First things first, we need to get our yeast all bubbly and happy. In a small bowl, combine the warm milk, yeast, and a pinch of sugar. Give it a gentle stir and let it sit for about 5-10 minutes. You’re looking for a foamy, frothy mixture. If it looks like sad, stagnant water, your yeast might be dead, and you’ll need to start over. FYI, dead yeast is a baking tragedy.
2. Mixing the Dough
Now for the dough! In a large bowl (or the bowl of your stand mixer, if you have one), combine the flour and salt. Make a little well in the center. Once your yeast mixture is foamy, pour it into the well. Add the softened butter and the egg.
If you’re using a stand mixer, mix on low speed with the dough hook until everything just starts to come together. If you’re doing it by hand, stir with a wooden spoon until it’s shaggy.
3. Kneading the Dough
This is where the magic really starts to happen. You need to knead the dough until it’s smooth and elastic. This usually takes about 8-10 minutes by hand or 5-7 minutes with a stand mixer.
- By Hand: Turn the dough out onto a lightly floured surface. Push the dough away from you with the heel of your hand, then fold it over on itself. Rotate and repeat. It’s a workout, but so satisfying!
- Stand Mixer: Just let the dough hook do its thing on medium-low speed.
The dough should feel slightly tacky but not stick to your fingers. You want it to be beautifully soft and pliable.
4. The First Rise (Patience, Grasshopper!)
Lightly grease a clean bowl. Place the kneaded dough in the bowl, turning it once to coat all sides with oil. Cover the bowl tightly with plastic wrap or a damp kitchen towel. Let it rise in a warm, draft-free place for about 1 to 1.5 hours, or until it has doubled in size.
This is the part where you might be tempted to poke it excessively. Resist! Let the yeast do its job. This is a crucial step for achieving those light and fluffy rolls.
5. Shaping Your Rolls
Once your dough has risen, gently punch it down. Turn it out onto a lightly floured surface. Divide the dough into equal portions – I usually get about 12-15 rolls, depending on how big I want them. Roll each portion into a ball.
Now, arrange your dough balls into a greased baking dish. I love using a 9×13 inch pan, placing them close enough to each other so they touch as they bake, creating that lovely, soft edge.
6. The Garlic Butter Bath
While the dough is doing its second rise (yes, there’s another one!), let’s get that glorious topping ready. In a small bowl, whisk together the melted butter, minced garlic, parsley, salt, and pepper. This is your flavor bomb!
7. The Second Rise and Topping Time
Cover the shaped rolls loosely with plastic wrap and let them rise again for about 30-45 minutes, or until they’re puffy and nearly doubled. Preheat your oven to 375°F (190°C).
Once they’ve had their second rise, uncover the rolls. Now, the fun part! Generously brush or spoon that garlicky butter mixture all over the tops of the rolls. Get it into all those nooks and crannies.
8. Cheese, Glorious Cheese!
Sprinkle your shredded mozzarella and grated Parmesan evenly over the buttered rolls. Don’t be shy here; more cheese is almost always the right answer when it comes to cheesy garlic rolls.
9. Baking to Golden Perfection
Pop the pan into your preheated oven. Bake for 20-25 minutes, or until the rolls are golden brown and the cheese is melted and bubbly. The aroma that fills your kitchen at this point? Pure heaven. You might want to warn your neighbors.
Tips for Cheesy Garlic Roll Success
These rolls are pretty forgiving, but here are a few pointers to ensure maximum deliciousness:
- Don’t Overwork the Dough: Once it’s smooth and elastic, stop kneading. Overworking can lead to tough rolls.
- Warm Spot for Rising: Find a cozy spot for your dough to rise. An oven with just the light on can work wonders.
- Fresh Garlic is Key: I cannot stress this enough. The flavor difference is massive.
- Butter, Butter, Butter: Don’t skimp on the garlic butter. It’s what makes them so incredibly moist and flavorful.
- Watch the Oven: Ovens can be finicky. Keep an eye on your rolls during the last few minutes of baking to prevent burning.
When to Serve These Beauties
Honestly, anytime is a good time for cheesy garlic rolls. But here are a few of my favorite scenarios:
- With Pasta: The absolute classic. They’re the perfect vehicle for scooping up any leftover sauce.
- With Soup or Salad: Need something to round out your meal? These are your guys.
- As an Appetizer: Serve them warm with a little extra garlic butter for dipping. People will go wild.
- For Game Night: Forget the chips; these are way more satisfying.
- Just Because: Sometimes, you just need a good, cheesy bread fix. No judgment here!
Serving Suggestions for Friends
When you make these for friends, you’re instantly elevated to “awesome host” status. They are truly recipes for friends because they are meant to be shared. Serve them piping hot, maybe with a side of marinara for dipping if you’re feeling extra. The ooey-gooey cheese pull is chef’s kiss.
Common Questions About Cheesy Garlic Rolls
Can I Make the Dough Ahead of Time?
Absolutely! You can make the dough, let it rise, punch it down, and then refrigerate it overnight. Just let it come to room temperature for about 30 minutes before shaping and baking. This is a great meal prep baking strategy.
What if I Don’t Have Mozzarella?
No worries! Cheddar, Monterey Jack, Provolone, or even a Swiss cheese blend would work. Just make sure it’s a cheese that melts well.
My Rolls Didn’t Rise Much. What Happened?
Several things could be at play: your yeast might have been old, the liquid you used might have been too hot or too cold, or your rising spot wasn’t warm enough. Don’t get discouraged; it happens to the best of us!
Final Thoughts: Go Forth and Bake!
So there you have it – your new favorite recipe for cheesy garlic rolls. They are a testament to the fact that sometimes, the simplest ingredients can create the most incredible results. This is one of those bake food recipes that will become a staple in your kitchen.
Whether you’re looking for a stellar homemade garlic bread recipe or just a fun baking project, these rolls deliver. They’re comforting, ridiculously tasty, and incredibly rewarding to make.
Now, go forth and bake! I can’t wait to hear how yours turn out. Let me know in the comments if you try them or if you have any secret ingredient additions! Happy baking!

Cheesy Garlic Rolls
Ingredients
Method
- Preheat the oven to 375°F (190°C). Line a baking sheet or round pan with parchment paper or lightly grease it.
- Roll out the pizza dough into a large rectangle, about ¼-inch thick.
- In a small bowl, mix melted butter, minced garlic, and Italian seasoning.
- Brush half of the garlic butter mixture over the rolled-out dough.
- Sprinkle shredded mozzarella evenly over the surface, leaving a small border around the edges.
- Roll the dough tightly from one long side into a log. Slice into 12 equal pieces and arrange them on the prepared baking sheet or in a greased baking dish.
- Brush the tops with the remaining garlic butter and sprinkle with grated Parmesan.
- Bake for 18–22 minutes, or until golden brown and cheese is bubbling.
- Remove from the oven and garnish with fresh parsley. Serve warm with marinara sauce for dipping.
Notes


