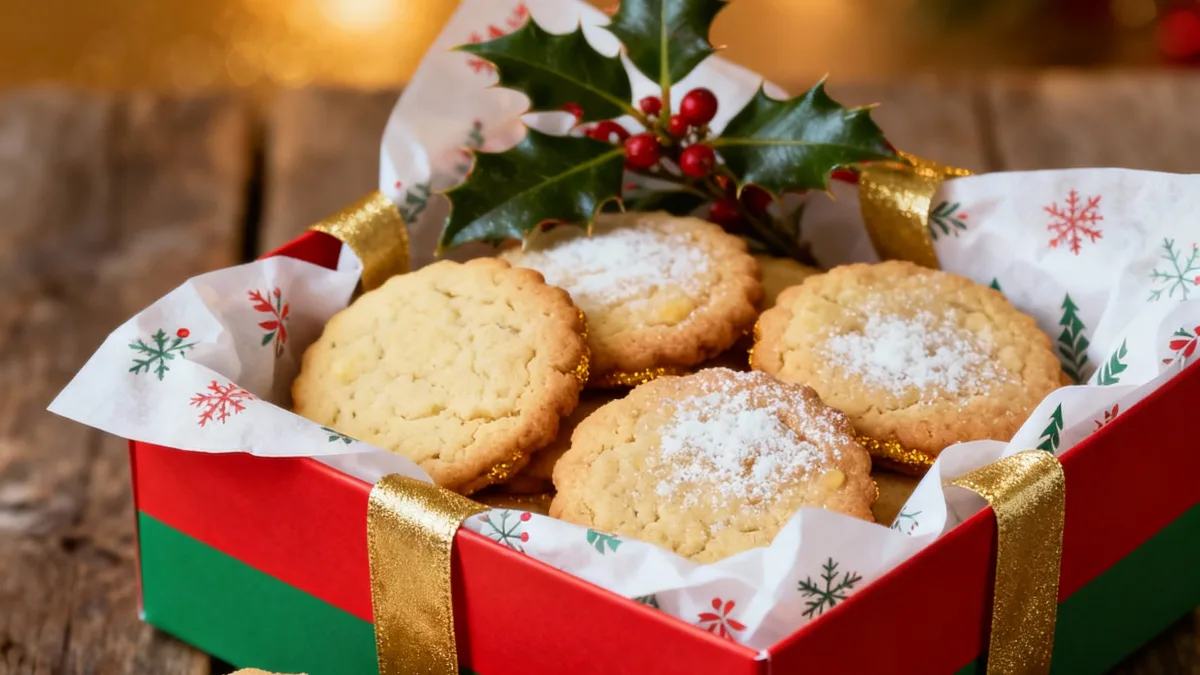
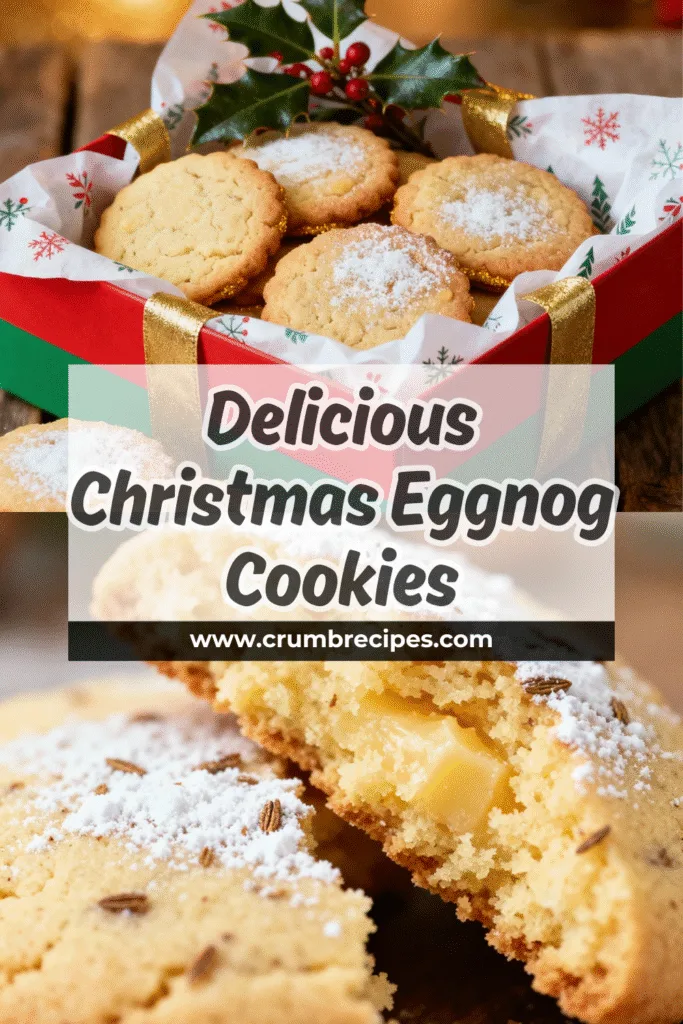
Alright, fellow cookie enthusiasts, let’s talk about the cookie of the season. You know the one I’m talking about – that creamy, dreamy, spiced delight that screams holidays louder than a carol-singing elf on caffeine. Yep, we’re diving headfirst into the wonderful world of Christmas Eggnog Cookies! If you’re anything like me, the moment Thanksgiving leftovers are a distant memory, your brain starts conjuring up visions of festive treats, and eggnog cookies are always at the top of that list.
Have you ever had that moment where you just need a cookie that tastes exactly like that glass of holiday cheer? I totally get it. That’s why I’ve spent countless hours in the kitchen, experimenting, tweaking, and tasting (tough job, I know!) to bring you the ultimate guide to eggnog cookie perfection. Forget those bland, boring cookies; we’re going for something that’ll make your taste buds do a little happy dance.
This isn’t just about a recipe; it’s about capturing that magical holiday spirit in every single bite. So, grab your apron, maybe pour yourself a little… well, you know… and let’s get baking! We’ll cover everything from super easy eggnog cookies that even a beginner can master to tips for making them gluten-free, because nobody should miss out on this deliciousness.
The Magic Ingredient: Why Eggnog is King
Seriously, what is it about eggnog that makes everything it touches taste like Christmas? It’s that rich, creamy texture combined with those warm, comforting spices – nutmeg, cinnamon, cloves. It’s like a hug in a mug, and when you translate that into a cookie? Pure genius.
- The Flavor Profile: Eggnog brings a unique sweetness and a hint of spice that’s hard to replicate. It’s sophisticated yet incredibly comforting.
- The Texture: That creamy base of the eggnog contributes to a wonderfully soft and chewy cookie. Forget dry, crumbly disappointments.
- The Nostalgia Factor: For many of us, eggnog is intrinsically linked to holiday memories. Baking with it just amplifies that festive feeling.
IMO, if you’re not incorporating eggnog into your holiday baking, you’re seriously missing out on a huge part of the festive flavor party.
Eggnog Cookie Recipe: The Classic That Never Fails
Let’s start with the foundation – a solid eggnog cookie recipe. This is the one I always go back to. It’s straightforward, reliable, and results in cookies that are just divine.
Ingredients You’ll Need:
- 1 cup (2 sticks) unsalted butter, softened
- 1 ½ cups granulated sugar
- 2 large eggs
- 1 teaspoon vanilla extract
- 1 cup eggnog (full-fat is best for richness!)
- 2 ½ cups all-purpose flour
- 1 teaspoon baking soda
- ½ teaspoon salt
- ½ teaspoon ground nutmeg
- ¼ teaspoon ground cinnamon
- Optional: Powdered sugar for dusting or an eggnog glaze
Step-by-Step to Cookie Bliss:
- Cream it Up: In a large bowl, beat the softened butter and sugar together until light and fluffy. This is where the magic starts!
- Wet Ingredients In: Beat in the eggs one at a time, then stir in the vanilla extract and the all-important eggnog. Don’t worry if the mixture looks a little different; that’s the eggnog working its charm.
- Dry Ingredients Unite: In a separate bowl, whisk together the flour, baking soda, salt, nutmeg, and cinnamon. This ensures your leavening and spices are evenly distributed. Nobody likes a cookie with a surprise clump of baking soda, right?
- Combine Gently: Gradually add the dry ingredients to the wet ingredients, mixing on low speed until just combined. Overmixing is the enemy of tender cookies, so be gentle!
- Chill Out: Cover the dough and refrigerate for at least 30 minutes. This step is crucial! It helps the cookies hold their shape and prevents them from spreading too much in the oven. Patience, my friends, is a virtue, especially in baking.
- Scoop and Bake: Preheat your oven to 350°F (175°C). Drop rounded tablespoons of dough onto parchment-lined baking sheets.
- Bake to Perfection: Bake for 9-12 minutes, or until the edges are lightly golden brown. The centers should still look slightly soft. They’ll firm up as they cool.
- Cool Down: Let the cookies cool on the baking sheets for a few minutes before transferring them to a wire rack to cool completely.
- The Finishing Touch (Optional but Recommended!): Once cool, you can dust them with powdered sugar or whip up a simple eggnog glaze (powdered sugar mixed with a tablespoon or two of eggnog until smooth).
And there you have it – chewy eggnog cookies that are bursting with holiday flavor!
Level Up Your Baking: Cake Mix Eggnog Cookies
Okay, confession time: sometimes, life is just too busy for a from-scratch everything. That’s where the beauty of a cake mix comes in. If you’re looking for Eggnog Cake Mix Cookies that are ridiculously easy and still deliver big on flavor, you’ve come to the right place. This hack is a lifesaver, and honestly, no one needs to know your secret unless you want them to. 😉
The Genius Shortcut:
You’ll need:
- 1 box (about 15.25 oz) yellow cake mix
- ½ cup vegetable oil (or melted butter for extra flavor)
- 2 large eggs
- 1 cup eggnog
- 1 teaspoon vanilla extract
- ½ teaspoon nutmeg
How to Do It:
Seriously, it’s as simple as it sounds.
- Mix Master: Combine all the ingredients in a large bowl. Mix until smooth. That’s it. Did I mention it’s easy?
- Chill (Optional but Recommended): Like the traditional recipe, chilling the dough for about 30 minutes helps with texture and shape.
- Scoop and Bake: Drop rounded tablespoons onto parchment-lined baking sheets.
- Bake: Bake at 350°F (175°C) for 10-13 minutes, or until lightly golden.
These cake mix eggnog cookies are incredibly soft and have that distinct eggnog flavor. They are a fantastic option for when you need a quick holiday treat. You can even add a handful of white chocolate chips for an extra festive touch!
Gluten-Free Eggnog Cookies: No One Misses Out!
Worried about dietary restrictions? Fear not! Making Gluten Free Eggnog Cookies is totally achievable and just as delicious. The key is using a good quality gluten-free flour blend.
Gluten-Free Swaps:
- Flour Blend: Substitute the all-purpose flour in the classic recipe with a 1:1 gluten-free baking flour blend (one that contains xanthan gum). You might need to adjust the liquid slightly; sometimes gluten-free flours absorb more moisture.
- Check Your Eggnog: While most eggnog is naturally gluten-free, it’s always a good idea to double-check the label, especially if you’re making these for someone with celiac disease.
The process remains the same. You might find that gluten-free doughs can be a little stickier, so chilling them thoroughly is even more important. Baking times might also vary slightly, so keep an eye on them. The result? Delicious egg nog cookies that everyone can enjoy. It’s all about inclusivity, right?
Making Your Eggnog Cookies Extra Special
Beyond the basic recipe, there are so many ways to elevate your egg nog cookies. Think of these as your secret weapons for winning the holiday bake-off.
Chewy Eggnog Cookies Secrets:
Want that perfect chewy texture? Here are a few tricks:
- Don’t Overbake: This is probably the most important tip for chewy cookies. Pull them out when the centers still look a little underdone. They finish baking on the hot pan.
- Brown Sugar Boost: While the classic recipe uses granulated sugar, consider using a mix of granulated and brown sugar. Brown sugar adds moisture and contributes to a chewier texture.
- Add an Extra Egg Yolk: An extra yolk adds richness and fat, which helps create a chewier, more tender cookie.
- Chill the Dough: We’ve said it before, and we’ll say it again. Chilling prevents excessive spreading and concentrates the flavors, leading to a better texture.
Fun Variations to Try:
- Eggnog Cream Cheese Cookies: Add softened cream cheese to the dough for an extra tangy, rich cookie.
- Spiced-Up: Amp up the spices! Add a pinch of ground cloves or ginger for a more complex flavor.
- White Chocolate Dipped: Dip cooled cookies halfway into melted white chocolate. So festive!
- Sprinkle Power: Add festive Christmas sprinkles to the dough before baking or mix them into the glaze.
FYI, these little tweaks can take your egg nog cookies from great to absolutely unforgettable.
Eggnog Cookies: Easy Enough for Anyone, Delicious Enough for Everyone
Honestly, the biggest hurdle with Christmas Eggnog Cookies is usually just getting started. But as you can see, whether you’re a seasoned baker or just starting out, there’s an eggnog cookie option for you.
The easy eggnog cookies using cake mix are fantastic for a quick fix, while the classic from-scratch recipe offers that deep, satisfying flavor we all crave. And for those with dietary needs, gluten free eggnog cookies are totally within reach.
Why are these cookies so special? Because they encapsulate the spirit of the holidays. They’re warm, comforting, a little bit decadent, and perfect for sharing. They bring people together, spark conversations, and create sweet memories.
So, what are you waiting for? This holiday season, I challenge you to bake up a batch (or two!) of these incredible egg nog cookies. Experiment, have fun, and most importantly, enjoy every single delicious bite.
Do you have a favorite eggnog cookie variation? Share it in the comments – I’m always looking for new ways to spread the holiday cheer! Happy baking, and Merry Christmas!

Christmas Eggnog Cookies
Ingredients
Method
- Preheat oven to 350°F (175°C) and line baking sheets with parchment paper.
- In a large bowl, cream together butter and sugar until light and fluffy (about 2–3 minutes).
- Add the egg yolk, vanilla extract, and eggnog, and beat until smooth.
- In a separate bowl, whisk together flour, baking powder, nutmeg, cinnamon, and salt.
- Gradually add the dry ingredients to the wet mixture, mixing until just combined. Do not overmix.
- Scoop rounded tablespoons of dough onto the prepared baking sheets, spacing them about 2 inches apart.
- Bake for 9–11 minutes, or until edges are lightly golden. Cool on the pan for 5 minutes, then transfer to a wire rack to cool completely.
- For the glaze: Whisk together powdered sugar and eggnog until smooth. Drizzle or spread over cooled cookies and sprinkle lightly with nutmeg.
- Allow glaze to set before storing cookies in an airtight container.
Notes


