Alright, let’s talk eggnog. Specifically, the good stuff – the kind that warms you up from the inside out and makes you believe in Santa, even if you’re a grown adult. If you’ve ever scrolled through endless recipes wondering, “Which one is actually the best?” – well, you’re in the right place. I’ve tinkered, tasted, and totally perfected my classic spiked eggnog recipe, and I’m about to spill all the secrets. Forget those store-bought versions that taste vaguely like disappointment and questionable dairy. We’re making homemade magic here.

Why Bother with Homemade Spiked Eggnog?
Seriously, why? Because the difference is night and day. Store-bought eggnog often feels… well, fake. It’s usually overly sweet and lacks that rich, creamy texture that only real eggs and good spirits can provide. Plus, the “spiked” versions? Let’s just say they often skimp on the good stuff. Making it yourself means you control the quality, the sweetness, and, most importantly, the boozy kick! This homemade eggnog recipe is all about that perfect balance.
The Holy Trinity: Eggs, Dairy, and Sugar
At its heart, a classic eggnog recipe is surprisingly simple. It’s all about combining a few core ingredients to create that luscious, custardy base.
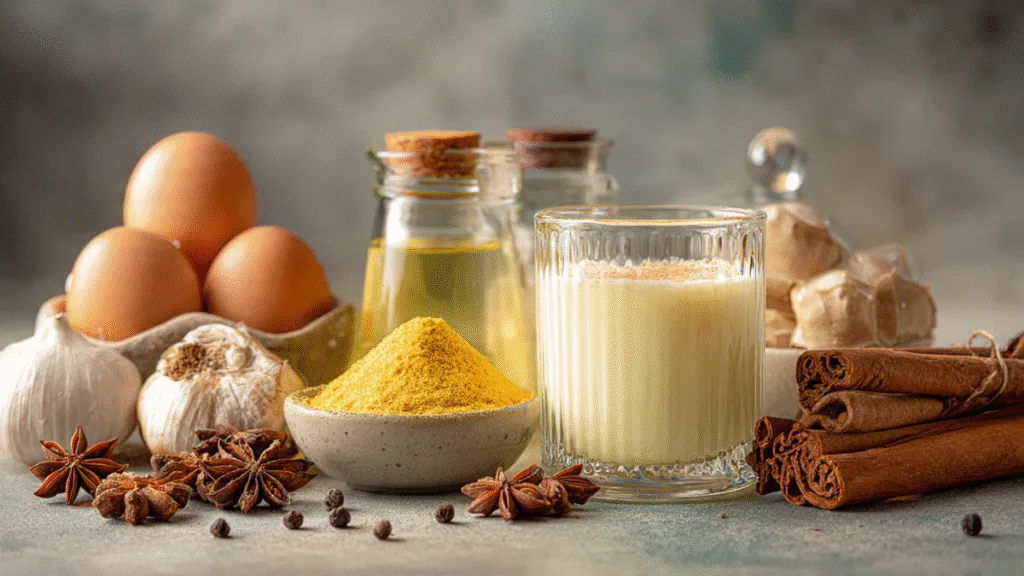
The Eggs: Yolks are Your Friends
This is where the magic happens. We’re talking about egg yolks, folks. They’re the emulsifiers, the richness providers, the reason your eggnog isn’t just milky sugar water.
- Richness and Creaminess: Egg yolks are packed with fat, which gives eggnog its signature velvety texture.
- Emulsification: They help bind the fat and liquid together, preventing a greasy or separated mess.
- Color: Those beautiful golden yolks give eggnog its inviting, warm hue.
Don’t you dare toss those whites, though! We’ll use them later for a lighter texture.
Dairy: The Creamy Foundation
You can’t have eggnog without the dairy! For the ultimate holiday eggnog, I recommend a blend.
- Heavy Cream: This is non-negotiable for that luxurious mouthfeel. Don’t even think about using half-and-half here, unless you enjoy mediocrity.
- Whole Milk: This adds body without making it too rich. A good balance is key, IMO.
Some recipes go all-cream, but I find a mix gives you the best of both worlds.
Sugar: Sweetness, Naturally
We need a touch of sweetness to balance the richness and the booze.
- Granulated Sugar: Your basic, reliable sweetener.
- A Hint of Vanilla: Pure vanilla extract is a must for depth of flavor.
We’ll whisk the sugar into the yolks, creating a beautiful, pale ribbon. This process, called “ribboning,” is super important for a smooth texture. It means you’ve incorporated enough air and sugar to thicken it.
The Spirit: Choosing Your Booze Wisely
Now, for the fun part – the spike! This is where alcoholic eggnog really shines. You can go classic, or you can get creative. The key is using good quality spirits.
- Bourbon: My personal favorite. Its caramel and vanilla notes play beautifully with the eggnog.
- Rum: Aged rum adds a lovely warmth and spice. Dark rum is usually the way to go.
- Brandy/Cognac: For a sophisticated, smooth kick.
- Whiskey: Any good quality whiskey works.
Pro Tip: A blend of spirits is often the secret to the best eggnog recipe. Try a mix of bourbon and dark rum, or brandy and whiskey. It adds complexity!
How Much Booze? Let’s Be Real.
This is where personal preference really comes in. Do you want a subtle warmth, or are you aiming for a party starter? I usually go for a generous pour, but you can always start lighter and add more to taste. Remember, you can always add more, but you can’t take it away!
Crafting Your Classic Spiked Eggnog: Step-by-Step
Ready to get your hands dirty (in the best way possible)? Here’s how we whip up this egg nog cocktail recipe:
Step 1: Tempering the Eggs (Don’t Freak Out!)
This might sound fancy, but it’s just a way to cook the egg yolks gently without scrambling them.
- Warm the Dairy: Gently heat your milk and cream in a saucepan over medium heat until it’s steaming but not boiling.
- Slowly Add to Yolks: While whisking constantly, slowly drizzle about half of the hot dairy mixture into your beaten egg yolks and sugar. This gradually raises the temperature of the yolks.
- Return to Pan: Pour the tempered yolk mixture back into the saucepan with the remaining dairy.
- Cook Gently: Cook over low heat, stirring constantly with a wooden spoon, until the mixture thickens enough to coat the back of the spoon. Do not boil! If it boils, you’ll have scrambled eggs, and nobody wants that.
Step 2: Chill Out (Literally)
Once it’s thickened, strain the custard through a fine-mesh sieve into a clean bowl. This catches any tiny bits of cooked egg and ensures smoothness. Cover it with plastic wrap, pressing the wrap directly onto the surface to prevent a skin from forming. Now, chill it thoroughly in the refrigerator for at least 4 hours, or preferably overnight. This is crucial for flavor development and a proper cold eggnog experience.
Step 3: Add the Good Stuff!
Once the base is cold, it’s time to add your chosen spirits and any other flavorings like vanilla extract. Stir everything together until well combined.
Step 4: The Final Froth
This is the secret to that light, airy texture many spiked eggnog recipes lack.
- Whip the Egg Whites: In a separate, clean bowl, whip your reserved egg whites until soft peaks form.
- Sweeten Them: Gradually add a tablespoon or two of sugar and continue whipping until stiff, glossy peaks form.
- Fold Them In: Gently fold the whipped egg whites into the chilled eggnog base. This incorporates air and makes the eggnog lighter and more frothy. Be gentle; you don’t want to deflate all that hard work!
Serving Your Masterpiece
This is the moment of truth! Pour your classic spiked eggnog into glasses.
- Garnish: A sprinkle of freshly grated nutmeg is non-negotiable. It adds that aromatic, festive finish. A cinnamon stick is also a nice touch.
- Serve Cold: Eggnog is best served ice-cold. You can even chill your glasses beforehand.
- Optional “No-Spirit” Version: If you have guests who don’t partake, simply set aside some of the base before adding the alcohol. They can still enjoy this delicious eggnog drink!
FAQs About Eggnog
Q: Can I make eggnog ahead of time?
A: Absolutely! In fact, making it a day ahead allows the flavors to meld beautifully. Just wait to fold in the whipped egg whites until right before serving if you want the lightest texture.
Q: How long does homemade eggnog last?
A: Stored in an airtight container in the refrigerator, homemade eggnog typically lasts about 2-3 days. The raw eggs are the limiting factor here.
Q: What if I’m worried about raw eggs?
A: Totally understandable! You can temper the eggs more thoroughly by cooking the custard base to a slightly higher temperature (around 160°F or 71°C), which effectively pasteurizes them. Or, you can use pasteurized eggs, which are readily available in most grocery stores.
Q: Can I make this eggnog recipe non-alcoholic?
A: Of course! Just omit the spirits. You might want to add a splash more vanilla or a pinch of cinnamon to the base for extra flavor. It’ll still be a delightful eggnog drink!
The Verdict? Worth Every Whisk!
So there you have it – your blueprint for the best eggnog recipe you’ll ever make. It takes a little effort, sure, but the reward is a truly decadent, soul-warming holiday eggnog that’ll have your guests singing your praises. Forget the bland stuff; embrace the richness, the spice, and the cheer. Now go forth and make some merry! Cheers!

Classic Spiked Eggnog
Ingredients
Method
- In a large bowl, whisk together egg yolks and sugar until pale and thick.
- In a saucepan, combine milk, cream, nutmeg, cinnamon, and a pinch of salt. Heat over medium heat until steaming, but do not boil.
- Slowly pour about half of the hot milk mixture into the egg yolks while whisking constantly to temper them.
- Pour the tempered mixture back into the saucepan and cook over medium heat, stirring constantly, until slightly thickened and coats the back of a spoon (160–165°F / 70°C).
- Remove from heat and stir in vanilla extract and your choice of bourbon, rum, or brandy. Strain through a fine sieve for a silky texture.
- Allow the eggnog to cool, then cover and refrigerate for at least 2 hours before serving. Chill overnight for deeper flavor.
- Optional: Beat egg whites until soft peaks form and fold gently into the chilled eggnog for a lighter, frothier texture.
- Serve chilled or warm, topped with whipped cream, a dusting of nutmeg, and a cinnamon stick for garnish.
Notes


