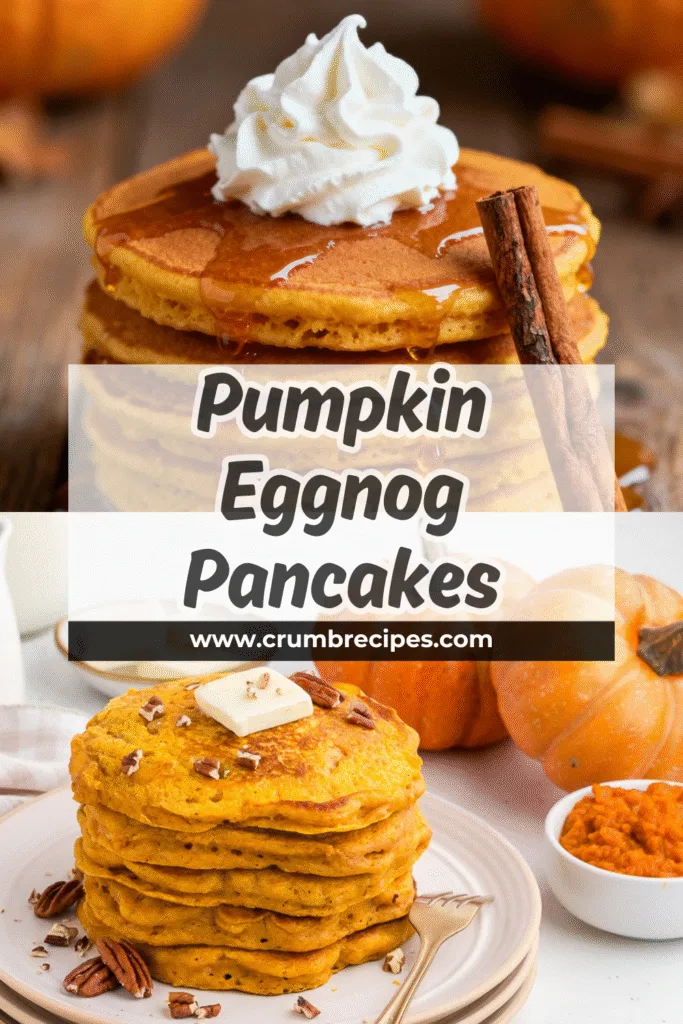
Okay, let’s be real. When you think of fall flavors, pumpkin spice probably screams loudest, right? But have you ever thought about giving that classic cozy vibe a little… boozy, creamy twist? Enter the Pumpkin Eggnog Pancakes. Trust me, this isn’t just another breakfast; it’s a full-blown flavor party that your taste buds have been waiting for.
As someone who practically lives in sweatpants from October to December, I’ve made it my personal mission to perfect all things fall-themed, especially when it comes to breakfast. And let me tell you, these pancakes are the absolute pinnacle. They’re fluffy, they’re packed with that warm pumpkin spice goodness, and the subtle hint of eggnog? Chef’s kiss!
Why Bother With Eggnog in Pancakes?
You might be thinking, “Eggnog? In pancakes? Isn’t that weird?” And to that, I say, “Why not?” Think about it. Eggnog is basically a rich, spiced custard. What better way to inject that luxurious flavor and moisture into a pancake batter? It’s like a secret weapon for achieving the ultimate fluffy, tender pancake. Forget watery milk; eggnog is where it’s at for that extra oomph.
Plus, let’s face it, eggnog season is tragically short. Most of us only enjoy it around the holidays. By sneaking it into our pancakes, we get to extend that festive feeling just a little bit longer. And who wouldn’t want that?
The Magical Ingredients You’ll Need
Alright, enough with the sweet talk. Let’s get down to business. You probably have most of these staples in your pantry already.
Here’s what you’ll want to round up for your Pumpkin Eggnog Pancake adventure:
- All-Purpose Flour: The base of any good pancake.
- Granulated Sugar: Just a touch for sweetness.
- Baking Powder: For that essential fluffiness. Don’t skimp here!
- Salt: Balances out the sweetness. A pinch makes a big difference.
- Pumpkin Pie Spice: The heart and soul of our fall flavor. You can buy a pre-made blend or whip up your own.
- Pure Pumpkin Puree: Make sure it’s pure pumpkin, not pumpkin pie filling (unless you like extra sugar, which, hey, no judgment).
- Eggnog: The star of the show! Use your favorite store-bought or homemade kind.
- Eggs: To bind everything together.
- Melted Butter: For richness and a lovely golden color.
- Vanilla Extract: Enhances all those warm spices.
Pro Tip: If you’re feeling really ambitious, you can totally make your own eggnog from scratch. But for a weeknight treat or a lazy weekend brunch, the store-bought stuff is perfectly fine. No one will know, and you’ll have more time to, you know, actually eat the pancakes.
Whipping Up Your Pumpkin Eggnog Pancake Masterpiece
Now for the fun part: making the batter! It’s ridiculously simple. Honestly, you could probably do this with your eyes closed after a cup of coffee… or maybe a little too much eggnog.
Step 1: The Dry Stuff
In a large bowl, whisk together your flour, sugar, baking powder, salt, and pumpkin pie spice. Give it a good mix so all those dry ingredients get friendly. This ensures your leavening agent (the baking powder) and spices are evenly distributed. Nobody wants a sad, flat pancake with a rogue clump of baking powder. Blech.
Step 2: The Wet Stuff
In a separate, medium bowl, whisk together the pumpkin puree, eggnog, melted butter, eggs, and vanilla extract. Whisk until it’s all combined and looks like a beautiful, orange, custardy dream.
Step 3: Combine and Conquer
Now, pour the wet ingredients into the dry ingredients. Here’s the crucial part: mix just until combined. A few lumps are totally okay, even desirable! Overmixing is the enemy of fluffy pancakes. It develops the gluten too much and can lead to tough, rubbery discs instead of light, airy delights. So, resist the urge to go crazy with the whisk. A gentle fold with a spatula works wonders.
Cooking Your Way to Pancake Perfection
You’ve got your batter. High five! Now let’s get these beauties cooked.
Heating the Griddle
You’ll want to heat a lightly oiled griddle or non-stick skillet over medium heat. How do you know when it’s ready? A good test is to flick a drop of water onto the surface. If it sizzles and evaporates quickly, you’re golden. If it just sits there, it’s too cool. If it disappears in a frantic hiss, it’s too hot. We’re aiming for that happy medium.
Pouring the Pancakes
Once your griddle is at the right temperature, pour or scoop your batter onto the hot surface. Use about 1/4 cup of batter per pancake. You can make them bigger or smaller, but this is a good standard size. Don’t overcrowd the pan; give them space to work their magic and make flipping easier.
The Flip Factor
Now, the suspense builds. How do you know when it’s time to flip? Look for bubbles! When you see bubbles forming on the surface of the pancake and the edges look set, it’s probably ready. Gently slide a spatula underneath and give it a confident flip. If it holds together, you’re doing great!
Cook the other side for another 1-2 minutes, or until golden brown and cooked through.
Repeat Until Batter is Gone
Keep cooking in batches until you’ve used up all that glorious batter. You can keep the cooked pancakes warm on a baking sheet in a low oven (around 200°F or 95°C) while you finish the rest.
Toppings: The Grand Finale
Let’s talk toppings, because no pancake is complete without them. This is where you can really go wild and amp up the fall vibes.
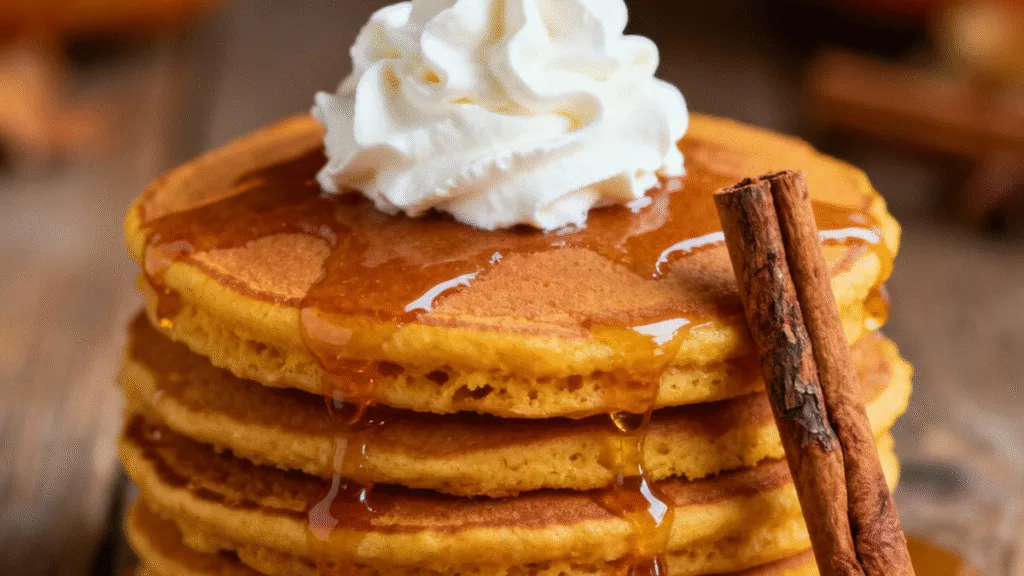
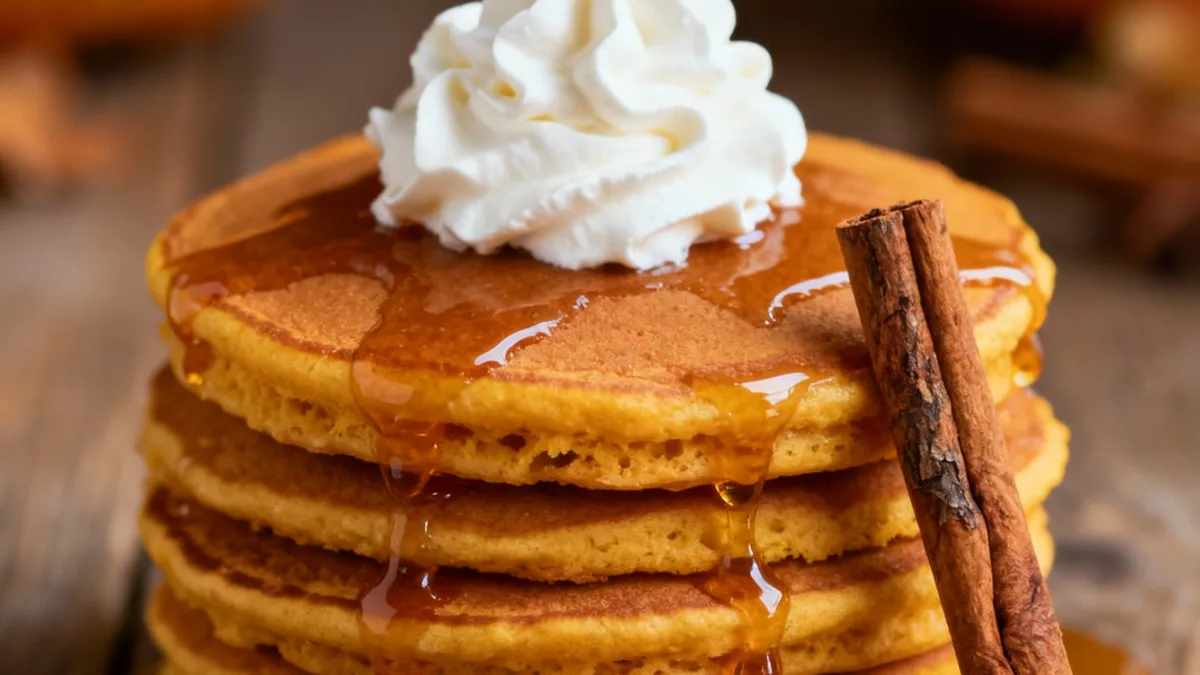
- Whipped Cream: A classic for a reason. Make it extra special with a dollop of maple syrup or a sprinkle of cinnamon.
- Maple Syrup: Obviously. But maybe try a dark robust syrup for a deeper flavor.
- Toasted Pecans or Walnuts: For a lovely crunch.
- A Dusting of Cinnamon or Nutmeg: Just a little extra spice never hurt anyone.
- A Drizzle of Caramel Sauce: Because why not? Go for it!
- More Eggnog: Some people even like to warm up a little extra eggnog to drizzle over the top. Savage, but delicious.
My personal favorite? A generous dollop of cinnamon-spiced whipped cream and a handful of toasted pecans. It’s the perfect balance of creamy, crunchy, and warmly spiced.
Troubleshooting Your Pancake Prowess
Even the most seasoned chefs have off days. If your first batch isn’t exactly what you dreamed of, don’t panic.
- Pancakes too flat? Your baking powder might be old, or you might have overmixed the batter. Make sure your baking powder is fresh and remember: gentle mixing is key!
- Pancakes burning on the outside, raw on the inside? Your griddle is too hot. Turn down the heat and give it a moment to cool.
- Pancakes sticking to the pan? Make sure you’re using enough oil or butter. A good non-stick pan also makes a world of difference.
The Verdict: Are Pumpkin Eggnog Pancakes Worth It?
IMO, absolutely yes! They offer a fantastic flavor upgrade to your standard pancake routine. The eggnog adds a subtle richness and a comforting holiday aroma that’s simply irresistible. They’re perfect for a special weekend brunch, a holiday breakfast, or honestly, just a Tuesday when you need a little extra joy.
Plus, think of the compliments you’ll get. “Oh, these are different!” they’ll exclaim. And you can just smile, take a bite, and say, “Yep, I upgraded. You should try it sometime.”
Final Thoughts & A Little Humor
So there you have it – your guide to making Pumpkin Eggnog Pancakes that are sure to impress. They’re easy enough for a beginner but flavorful enough to make you feel like a gourmet chef.
Remember, the goal is to have fun in the kitchen and enjoy delicious food. If your pancakes don’t turn out perfectly the first time, who cares? They’ll still taste amazing, especially with a mountain of toppings. Just think of them as “rustic” or “artfully deconstructed.” 😉
Go forth and pancake! Let me know how yours turn out. Happy fall, and happy eating!


Pumpkin Eggnog Pancakes
Ingredients
Method
- In a large bowl, whisk together the flour, sugar, baking powder, salt, and pumpkin pie spice.
- In a separate bowl, whisk together the pumpkin puree, eggnog, melted butter, eggs, and vanilla extract until combined.
- Pour the wet ingredients into the dry ingredients and mix just until combined; a few lumps are okay.
- Heat a lightly oiled griddle or non-stick skillet over medium heat.
- Pour about 1/4 cup of batter onto the hot surface for each pancake.
- Cook until bubbles form on the surface, then gently flip the pancake and cook until golden brown.
- Repeat with the remaining batter.
- Serve with toppings such as whipped cream, maple syrup, toasted pecans, cinnamon, or caramel sauce.


