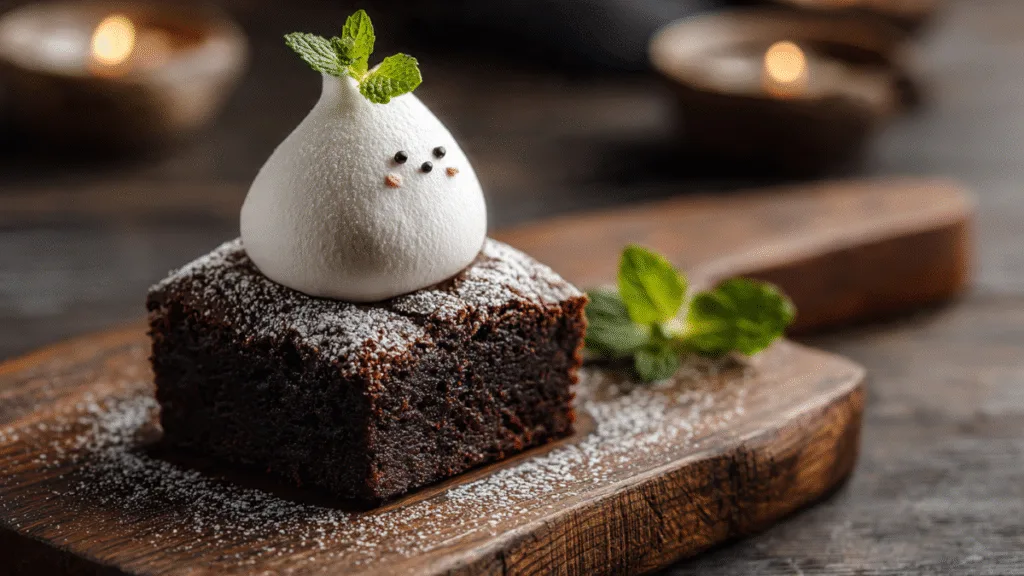
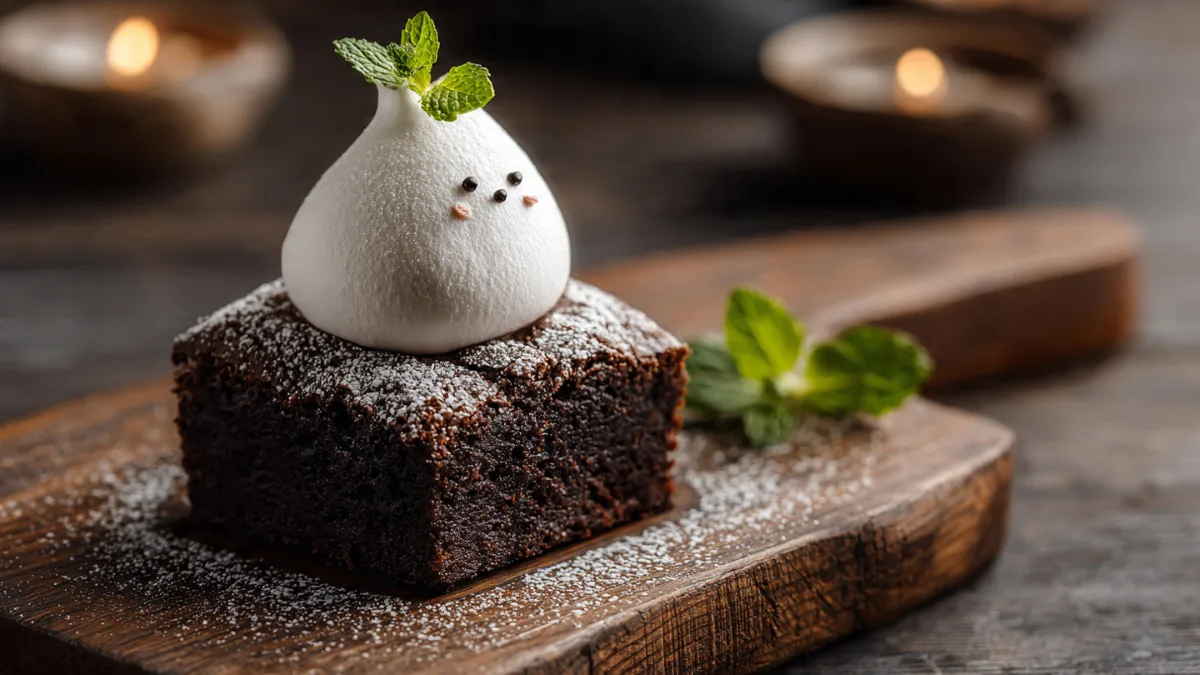
Let’s be real for a second. Halloween is creeping up, and you’re probably scrolling endlessly for a treat that’s equal parts spooky, delicious, and—most importantly easy. Ever find yourself staring at a Pinterest-perfect dessert, only to realize it requires the skills of a pastry chef and the patience of a saint? Yeah, me too. That’s why I’m here to talk about the undisputed champion of Halloween treats: Ghost Brownies.
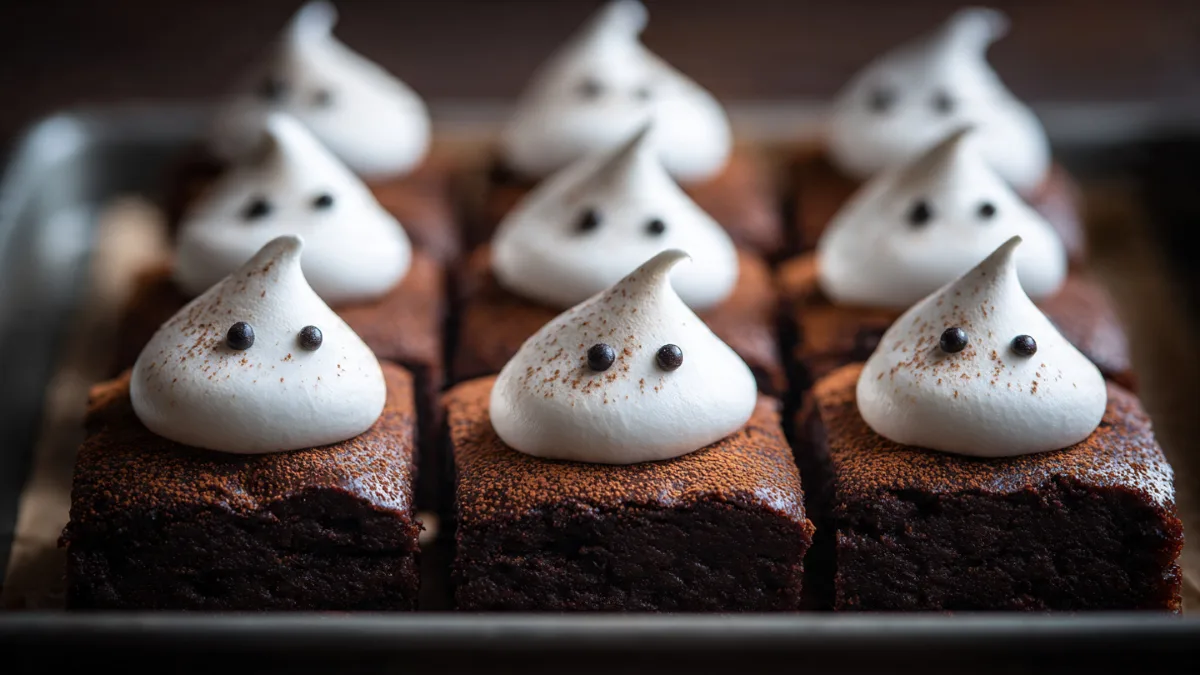
These aren’t your average, run-of-the-mill brownies with a lazy sprinkle of orange and black. Oh no. We’re talking fudgy, chocolatey squares of heaven, each haunted by its own adorable, marshmallowy ghost. They’re the kind of treat that gets all the “oohs” and “aahs” at the party, but secretly, you and I know they were ridiculously simple to whip up. So, grab your apron (or don’t, I’m not your boss) and let’s get into the spooky spirit.

Why Ghost Brownies Are Your New Halloween Go-To
Before we dive into the nitty-gritty, let’s chat about why this recipe is about to become your Halloween staple. I’ve made these for everything from kids’ parties to “I’m-an-adult-but-still-love-Halloween” get-togethers, and they are always, without a doubt, the first thing to disappear.
First off, they’re insanely easy. We’re talking semi-homemade levels of simple that even the most kitchen-averse person can handle. Second, they are a blast to decorate. This is a perfect activity to do with kids, or frankly, by yourself with some spooky tunes on in the background. Letting everyone design their own ghost faces is a fun way to get creative. And finally, they are just plain delicious. What’s not to love about a rich brownie topped with a fluffy marshmallow and a sweet candy coating?
Getting Your Ghoul On: What You’ll Need
I’m a big fan of keeping things simple, so you won’t find a laundry list of obscure ingredients here. We’re aiming for maximum impact with minimum effort.
For the Brownie Base:
You have a couple of options here, and there’s no judgment in this kitchen.
- Boxed Brownie Mix: Honestly, this is my go-to for this recipe. It’s quick, consistent, and lets you focus on the fun part—the decorating. I usually grab a fudge brownie mix because the gooey texture holds up well. My favorites are brands like Ghirardelli, Betty Crocker, or Duncan Hines.
- Your Favorite Homemade Recipe: If you have a killer from-scratch brownie recipe, by all means, use it! Just make sure it’s a fudgy one, not cakey, so it can support our little ghosts.
For the Adorable Ghosts:
This is where the magic happens. Here’s what you’ll need to bring your ghouls to life:
- Large Marshmallows: These will form the “body” of your ghost. Make sure you get the large or jumbo ones, not the miniatures.
- White Candy Melts or White Chocolate: This is what you’ll use to create that classic, flowy ghost sheet look. I personally prefer white candy melts because they set up quickly and give a smooth finish.
- Black Decorating Gel or Edible Marker: For creating those spooky (or silly) little faces. A tube of black gel icing is perfect for dotting on eyes and a mouth.
Let’s Make Some Boo Brownies: A Step-by-Step Guide
Ready to get this hauntingly good show on the road? Here’s how you’ll bring these Halloween Ghost Brownies to life.
Step 1: Bake and Cool Your Brownies
First things first, you need to bake your brownies. Whether you’re using a boxed mix or your own recipe, prepare them according to the directions, preferably in a 9×9 inch pan. Once they’re baked, and this is the most important part, let them cool completely. I know, the smell is intoxicating, but if you try to decorate warm brownies, you’ll have a melted, ghostly mess. Trust me on this.
Once they’re totally cool, go ahead and cut them into squares. An 8×8 or 9×9 pan should give you 16 nicely sized brownies.
Step 2: Assemble Your Ghosts
Now for the fun part! It’s time to give your brownies some personality.
- Melt the White Chocolate: Place your white candy melts or white chocolate chips in a microwave-safe bowl. Heat them in 30-second intervals, stirring in between, until they are completely melted and smooth. Be careful not to overheat, or the chocolate will seize up. If it feels too thick, a tiny bit of shortening can help smooth it out.
- Give Your Marshmallows a Perch: Take a large marshmallow and dip the bottom into the melted white chocolate. This acts as a “glue” to secure the marshmallow to the center of a brownie square. Place it firmly in the middle and hold for a few seconds. Repeat this for all your brownies.
- Create the Ghostly Drape: Using a spoon, generously drizzle the melted white chocolate over the top of each marshmallow. Encourage it to drip down the sides to create that flowy, ghostly sheet effect. Don’t strive for perfection here; the more irregular, the more character your ghosts will have.
Step 3: The Finishing Touches
Your ghosts are looking pretty spooky, but they need faces! Let the white chocolate set for a few minutes until it’s firm to the touch. Then, take your black decorating gel or an edible marker and draw on two eyes and a mouth. You can go for the classic “O” mouth, a silly smile, or even a wicked grin. This is your chance to get creative!
And that’s it! You’ve officially created a batch of the cutest, spookiest Halloween Brownies around.
Simple Brownie Decoration Ideas and Variations
Not feeling the marshmallow ghosts? Or maybe you want to create a whole haunted scene? No problem. The brownie base is a perfect canvas for all sorts of Halloween theme brownies.
- Mummy Brownies: Drizzle the melted white chocolate back and forth over the brownie, leaving a small space for two candy eyes to peek through.
- Graveyard Brownies: Frost the brownies with chocolate icing and sprinkle crushed Oreos on top for “dirt.” Stick a Milano cookie in for a tombstone. Spooky!
- Monster Brownies: Use different colored frostings (green, purple, orange) and go wild with candy eyes and sprinkles to create fun, monstrous faces.
Ever wondered why these simple treats are always such a hit? IMO, it’s because they’re nostalgic, easy for anyone to make, and just plain fun.
Pro Tips for Perfect Ghost Brownies
I’ve made my fair share of these treats, and I’ve learned a few things along the way. Here are some of my top tips:
- Don’t rush the cooling process. I know I said it before, but it’s worth repeating. Warm brownies will lead to disaster. If you’re in a hurry, you can pop the pan in the freezer for about 15 minutes to speed things up.
- Use parchment paper. Line your baking pan with parchment paper, leaving some overhang on the sides. This makes it super easy to lift the entire slab of brownies out of the pan for clean, easy cutting.
- Work in batches if you need to. Melted chocolate can start to harden as you work. If your white chocolate starts to firm up, just pop it back in the microwave for a few seconds.
Your Spooktacular Centerpiece Awaits
So there you have it—everything you need to know to create some seriously impressive, yet deceptively easy, Ghost Brownies. These treats are more than just a dessert; they’re a fun Halloween activity and a guaranteed crowd-pleaser. Whether you’re making them for a party, a school event, or just a festive night in, these Brownie Ghosts are sure to be a spooky success.
So, what are you waiting for? Go get your bake on and let me know how your ghoulish creations turn out. Happy haunting

Ghost Brownies
Ingredients
Method
- Preheat oven to 350°F (175°C). Grease and line an 8×8-inch baking pan with parchment paper.
- In a mixing bowl, whisk together melted butter and sugar until smooth. Add eggs and vanilla extract, whisking until combined.
- Stir in cocoa powder, flour, salt, and baking powder until fully incorporated. Do not overmix.
- Pour the batter into the prepared pan and smooth the top. Bake for 20–25 minutes or until a toothpick inserted in the center comes out with moist crumbs.
- Let the brownies cool completely in the pan before cutting into 12 squares.
- Place one large marshmallow on top of each brownie. Microwave for 5–7 seconds, just until marshmallows puff slightly.
- Melt white chocolate chips with vegetable oil in a microwave-safe bowl in 20-second intervals, stirring until smooth.
- Spoon or drizzle melted white chocolate over each marshmallow to cover, letting it drip slightly for a ‘ghostly’ effect.
- Before the chocolate sets, press mini chocolate chips (or pipe with black icing) to create ghost eyes and mouths.
- Allow chocolate to harden before serving. Store at room temperature in an airtight container for up to 3 days.


