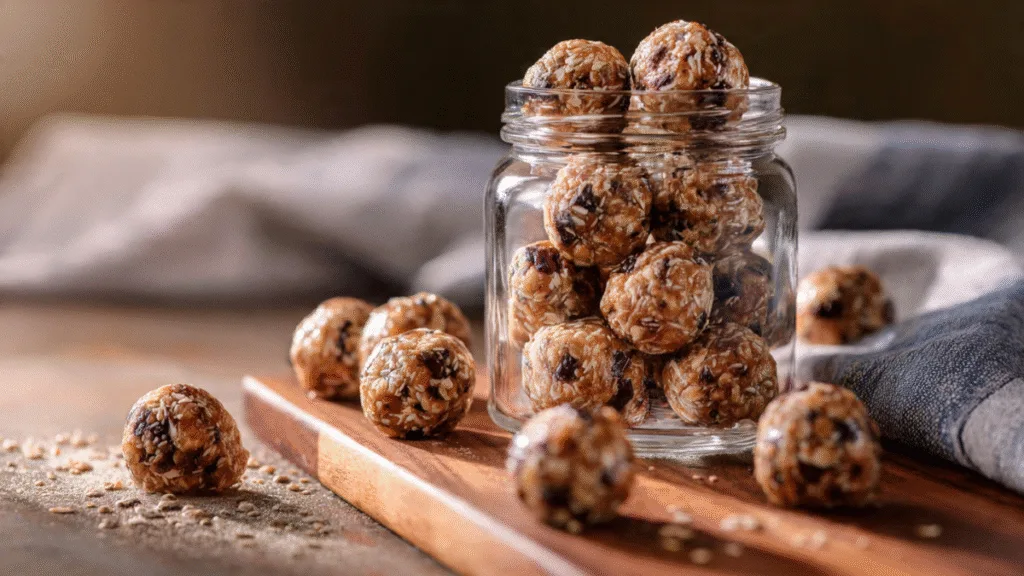
Alright, let’s chat. You and me. We need to talk about snacks. Specifically, that 3 p.m. slump when your energy levels crash harder than a toddler after a sugar high. You know the feeling. One minute you’re productive, and the next, you’re staring blankly at your screen, contemplating if a nap under your desk is a fireable offense. What you need, my friend, is a secret weapon. Enter: High-Protein Peanut Butter Energy Balls.
I’m not talking about those store-bought “protein bars” that taste suspiciously like sweetened cardboard. I’m talking about delicious, no-bake, protein-packed little spheres of joy that you can whip up in your own kitchen in about 15 minutes. Seriously. I’ve been making these for years, and they’ve saved me from countless snack-related meltdowns. They are, without a doubt, some of the best energy balls you’ll ever taste.

Why You’ll Absolutely Love This Energy Ball Recipe
Ever find a recipe that’s so easy and so good you almost feel like you’re cheating? That’s this one. These little bites are a game-changer for anyone who needs a quick, healthy snack on the go.
- No-Bake and Ridiculously Easy: You don’t even have to turn on your oven. All you need is a bowl and a spoon (or, let’s be real, your hands). It’s a simple process of mixing everything together, chilling for a bit, and rolling them into balls.
- Packed with Protein: Thanks to the dynamic duo of peanut butter and protein powder, these energy balls will actually keep you full and satisfied. Say goodbye to those empty-calorie snacks that leave you hungry 20 minutes later.
- Completely Customizable: Think of this recipe as a starting point. Don’t like chocolate chips? Leave ’em out. Want to add some coconut? Go for it. You are the master of your energy ball destiny.
- Perfect for Meal Prep: I love making a big batch on Sunday to have healthy protein snacks ready for the entire week. They store beautifully in the fridge or freezer.
The Core Ingredients: Your Snack Foundation
Let’s break down what makes these little guys so darn good. The beauty of this recipe is its simplicity. You likely have most of these ingredients in your pantry right now.
The Base and Binders
- Old-Fashioned Oats: Also known as rolled oats, these provide the main structure and a healthy dose of fiber. Do not, I repeat, do NOT use steel-cut oats unless you want a dental adventure.
- Peanut Butter: The star of the show! I prefer using a natural, creamy peanut butter where the only ingredients are peanuts and maybe a little salt. It provides healthy fats, protein, and that irresistible flavor.
- Honey or Maple Syrup: This is your natural sweetener and the “glue” that holds everything together. The stickiness is key for binding all the ingredients.
The Power-Ups
- Protein Powder: This is where you get that extra protein punch. Vanilla or chocolate whey protein powder works great, but feel free to use your favorite. The kind of protein powder you use can affect the final texture, so pick one you already enjoy.
- Ground Flaxseed: This is one of my favorite “secret” ingredients. Ground flaxseed, or flax meal, adds a ton of fiber and omega-3s. It also helps bind the balls together.
- Chia Seeds: These tiny seeds are nutritional powerhouses, adding more fiber, protein, and healthy fats.
Let’s Make Some Magic: The Recipe
Ready to roll? (Pun absolutely intended). This is one of the easiest protein balls recipes you’ll find.
What You’ll Need
- 1 ½ cups old-fashioned rolled oats
- ½ cup vanilla or chocolate protein powder
- ½ cup ground flaxseed
- 2 tablespoons chia seeds (optional)
- 1 cup creamy peanut butter
- ⅓ cup honey or pure maple syrup
- 1 teaspoon vanilla extract
- ½ cup mini chocolate chips
- 2-4 tablespoons of liquid (like almond milk or water), if needed
The Super-Simple Instructions
- Combine the Dry Stuff: In a large bowl, mix together the rolled oats, protein powder, ground flaxseed, and chia seeds (if you’re using them). Give it a good stir to make sure everything is evenly distributed.
- Add the Wet Stuff: Add the peanut butter, honey (or maple syrup), and vanilla extract to the bowl.
- Mix It All Up: Now for the fun part. Start stirring everything together. It’s going to be thick and a little tough to mix, but that’s normal. Don’t be afraid to get your hands dirty and knead it together until it’s well combined.
- Fold in the Goodies: Gently fold in the mini chocolate chips. I say “gently” but, IMO, there’s no wrong way to add chocolate.
- Check the Consistency: If the mixture seems too dry and crumbly, add a tablespoon of your liquid at a time until it holds together when you squeeze it. If it feels too sticky, you can add a little more oats.
- Chill Out: Cover the bowl and pop it in the refrigerator for at least 30 minutes. This step is crucial because it makes the mixture much easier to roll.
- Roll ’em Up: Use a small cookie scoop or a tablespoon to portion out the mixture and roll it into 1-inch balls.
- Store ’em: Place your finished energy balls in an airtight container. You can store them in the fridge for up to a week or in the freezer for up to three months.
Let’s Talk Customization, Baby!
This is where you can really let your personality shine. The base recipe is fantastic, but why not play around with it?
- Nut Butter Variations: Not a peanut butter fan? No problem. Almond butter, cashew butter, or even sunflower seed butter are all fantastic substitutes.
-
Mix-in Madness: The possibilities are endless here.
- Shredded Coconut: Toasted or untoasted, this adds a great texture and flavor.
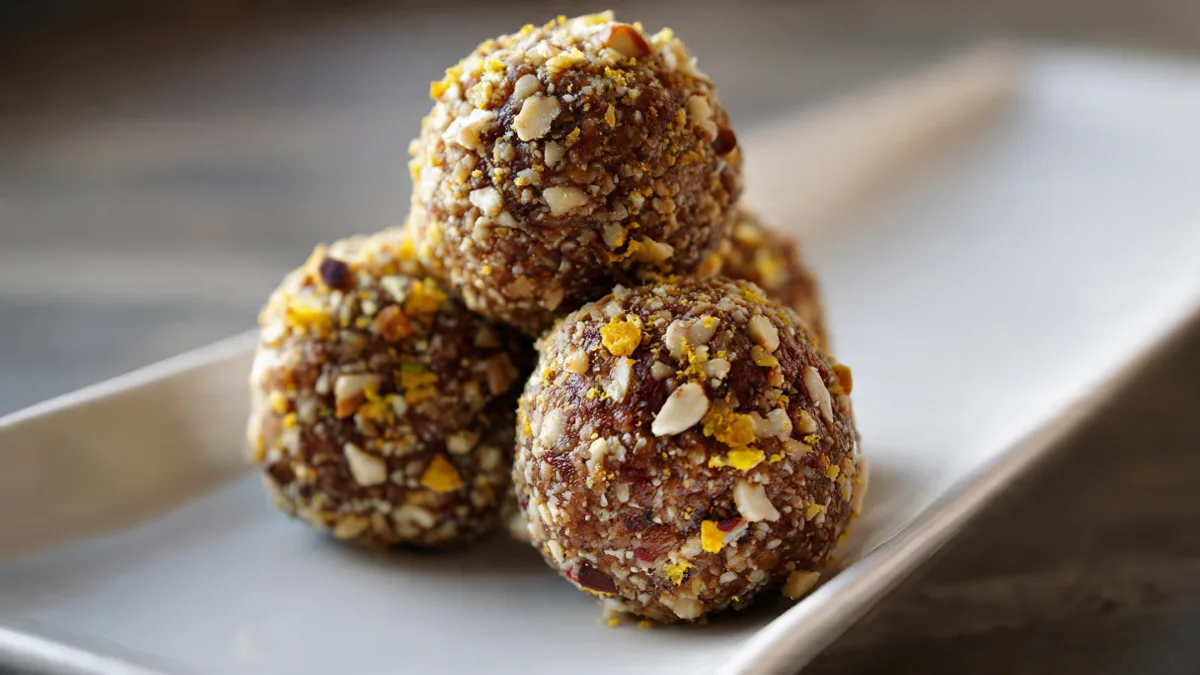
- Dried Fruit: Cranberries, raisins, or chopped dates add a nice chewiness and natural sweetness.
- Chopped Nuts: Walnuts, pecans, or almonds can add a satisfying crunch.
- Spices: A pinch of cinnamon can add a lovely warmth to the flavor profile.
The Perfect Snack for Any Occasion
Honestly, I can’t think of a time when these aren’t a good idea. They’re incredibly versatile.
Your Go-To Hiking Snacks
When you’re out on the trail, you need fuel that’s easy to pack and provides sustained energy. These protein balls are a perfect hiking snack. They’re dense in nutrients and won’t get crushed in your backpack like a sad, forgotten sandwich. The combination of protein, healthy fats, and carbs will keep you going on even the longest treks.
The Ultimate Pre- or Post-Workout Fuel
Need a little something before you hit the gym? The carbs in these energy balls can give you that boost you need. And after your workout, the protein helps with muscle repair and recovery. They’re a much healthier and tastier option than many of the processed workout snacks out there.
A Healthy Answer to Your Sweet Tooth
Let’s be real, sometimes you just need something sweet. These Peanut Butter Chocolate Chip Energy Bites taste like a treat but are made with wholesome ingredients. They can satisfy that craving without the sugar crash that comes from a candy bar. It’s a win-win.
A Few Final Thoughts (and a Little Tough Love)
Look, you could continue to let the 3 p.m. slump win. You could keep reaching for those sugary, processed snacks that do nothing for you. Or, you could take 15 minutes out of your day to whip up a batch of these high-protein peanut butter energy balls and feel like a superhero all week long. The choice is yours.
I’ve given you the tools. I’ve shared the secrets. Now it’s up to you to head to the kitchen and make some magic happen. Trust me, your future, well-fed, energetic self will thank you. Now go forth and snack wisely

High-Protein Peanut Butter Energy Balls
Ingredients
Method
- In a large mixing bowl, combine oats, protein powder, and ground flaxseed (if using). Stir until well mixed.
- Add peanut butter, honey, vanilla extract, and a pinch of salt. Mix using a spoon or your hands until a thick dough forms.
- If the mixture feels too dry, add almond milk one tablespoon at a time until it sticks together easily.
- Fold in mini chocolate chips or any desired mix-ins like dried fruit or nuts.
- Roll the dough into 1-inch balls using your hands or a small scoop.
- Place the balls on a parchment-lined tray and chill in the refrigerator for 15–20 minutes to firm up.
- Store in an airtight container in the refrigerator for up to 1 week, or freeze for up to 3 months.
Notes


