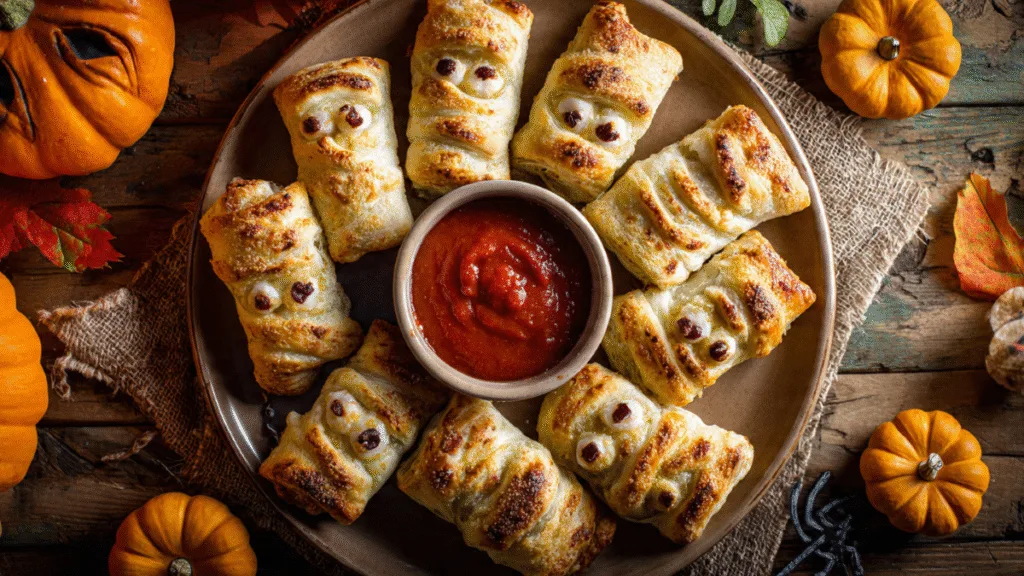
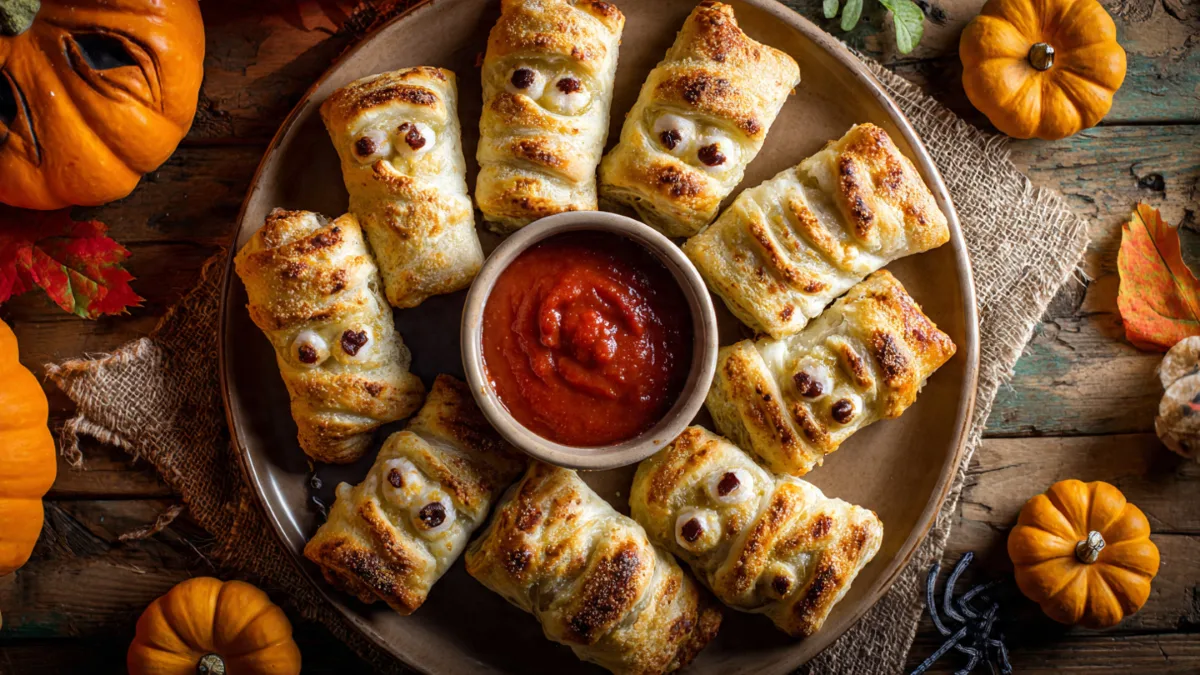
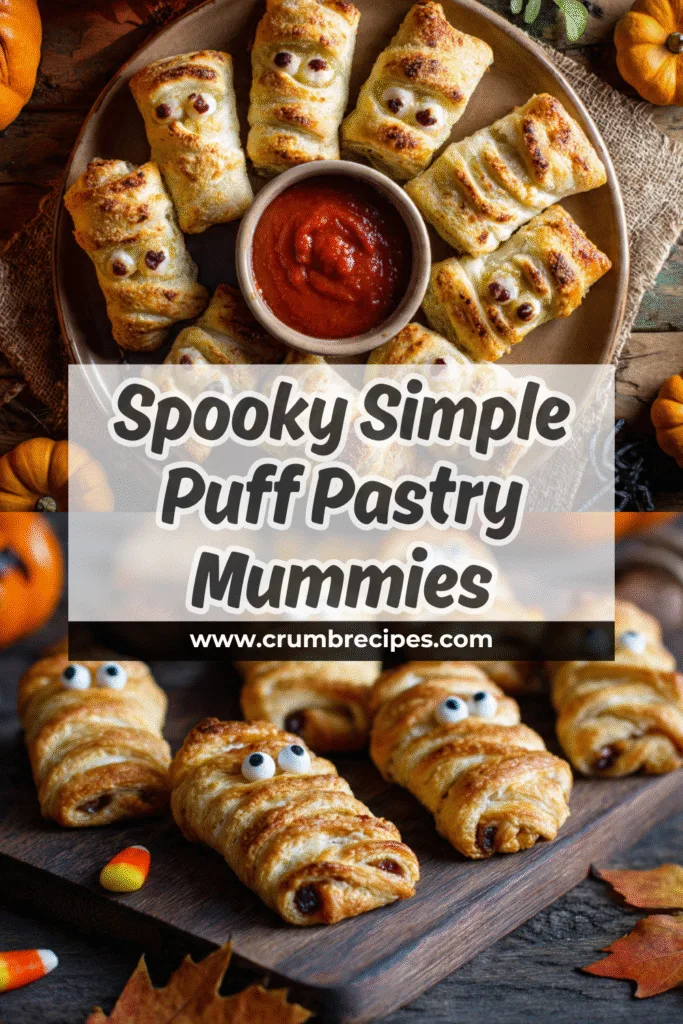
Alright, let’s be honest. You’ve seen them. Those adorable, slightly spooky, and ridiculously easy Puff Pastry Mummies that take over your social media feeds every single Halloween. And every year you think, “I could totally make those.” Then, somehow, life happens, and you end up with a bag of store-bought candy and a vague sense of culinary regret.
Well, not this year. This is the year you become the Halloween snack champion. Why? Because I’m going to walk you through making the absolute best, most foolproof Puff Pastry Mummies you’ve ever seen. I’ve made these for countless parties, and trust me, they disappear faster than a ghost in a haunted house. They’re my go-to for a reason: maximum “wow” factor with minimum effort.
So, grab your apron (or don’t, I’m not your boss) and let’s get ready to wrap some wieners. It’s about to get delicious.

Why Puff Pastry is Your Halloween Superpower
Ever wondered why some holiday treats just hit different? It often comes down to one magical ingredient. For our mummies, that ingredient is puff pastry. Forget complicated doughs or fussy bread recipes; puff pastry is the busy person’s secret weapon for gourmet results.
The Magic of Lamination
Puff pastry gets its incredible, flaky layers from a process called lamination. This is a fancy way of saying there are countless ultra-thin layers of dough separated by butter. When it hits the heat of the oven, the water in the butter creates steam, pushing the dough layers apart and creating that signature airy, crispy texture.
Think of it as a thousand tiny pillows of flavor. You’re not just wrapping a hot dog in some boring old dough. You’re giving it a golden, buttery, flaky sarcophagus of pure deliciousness. It’s the kind of texture that makes people’s eyes widen after the first bite.
Store-Bought vs. Homemade: Let’s Be Real
Could you make your own puff pastry from scratch? Sure. You could also churn your own butter and mill your own flour, but who has that kind of time? IMO, this is one area where the store-bought version is not just acceptable; it’s practically a requirement.
The quality of frozen puff pastry available in most grocery stores is fantastic. It saves you hours of painstaking work—folding, chilling, rolling, repeat—and delivers consistently great results. You get all the credit for a fancy pastry without any of the meltdown-inducing labor. Embrace the freezer aisle, my friend. It’s your friend.
Gathering Your Mummy-Making Arsenal
Before we dive into the fun part, we need to gather our supplies. The beauty of this recipe is its simplicity. You don’t need a pantry full of obscure ingredients or a collection of high-tech gadgets.
The Bare Necessities
Here’s the short and sweet list of what you’ll need. No fluff, just the essentials to create your edible army.
- Puff Pastry: One sheet of the frozen stuff, thawed according to the package directions. This is critical! If it’s too cold, it will crack. Too warm, and it becomes a sticky, unmanageable nightmare. I usually let it sit on the counter for about 30-40 minutes.
- Hot Dogs or Sausages: Your choice here completely changes the game. You can go with classic all-beef franks, smoky little smokies for bite-sized mummies, or even some fancy apple-gouda sausages if you’re feeling extra. I’ve found that a good quality, slightly thicker hot dog works best.
- An Egg: This is for the egg wash, which is the secret to that gorgeous, shiny, golden-brown finish. Don’t skip this! It makes your mummies look like they came from a bakery.
- Candy Eyeballs: Yes, these are a necessity. They are the entire reason these treats are so darn cute. You can find them in the baking aisle of most grocery stores, especially around Halloween.
- Dipping Sauces: Ketchup and mustard are classic for a reason. But you could also get creative with BBQ sauce, honey mustard, or even a spicy cheese dip.
Tools of the Trade
You won’t need much, which is another reason this recipe rocks.
- A Baking Sheet: Lined with parchment paper for easy cleanup. You’ll thank me later when you’re not scrubbing baked-on mummy bits off your pan.
- A Pizza Cutter or Knife: A pizza cutter is, hands down, the easiest way to cut the puff pastry into thin “bandages.” It just glides right through.
- A Pastry Brush: For applying that all-important egg wash.
That’s it! See? You’re already halfway to becoming a Halloween legend.
The Step-by-Step Guide to Mummy Perfection
Ready to bring your creations to life? Let’s roll. Follow these steps, and you’ll have a tray of perfect Puff Pastry Mummies in no time.
Step 1: Prep Your Pastry and Wieners
First things first, preheat your oven to 400°F (200°C). You want it nice and hot so the puff pastry gets that immediate blast of heat it needs to puff up properly.
Gently unfold your thawed puff pastry sheet on a lightly floured surface. Using your pizza cutter, slice the pastry into thin strips, about ¼ inch wide. Don’t stress about making them perfectly uniform. Mummies are supposed to look a little ragged and ancient, right? These are your bandages.
Next, pat your hot dogs dry with a paper towel. This little step is a game-changer. It helps the puff pastry stick to the hot dog and prevents the bottom from getting soggy.
Step 2: It’s a Wrap!
Now for the fun part. Take one pastry strip and start wrapping it around a hot dog, leaving a little space near one end for the face. Crisscross the strips to make it look like haphazard mummy bandages. You can use one long strip or a few shorter ones per mummy.
Get creative with it! Have some bandages overlapping, some stretched thin, some bunched up. Each mummy should have its own personality. Just make sure most of the hot dog is covered, but don’t wrap it so tightly that the pastry can’t puff up.
Place each wrapped mummy on your parchment-lined baking sheet, leaving a bit of space between them so they can expand.
Step 3: The Golden Touch
Crack your egg into a small bowl and whisk it with a splash of water. This creates your egg wash. Using your pastry brush, lightly brush the egg wash over the puff pastry bandages on each mummy.
This is the step that ensures your mummies will bake up beautifully golden and shiny. It also helps the pastry get extra crispy. It might seem like a small detail, but it makes a huge difference in the final product.
Step 4: Bake to Life
Pop the baking sheet into your preheated oven and bake for about 15-20 minutes. You’ll know they’re done when the puff pastry is puffed, golden brown, and cooked through. The whole kitchen will smell absolutely divine, FYI.
Once they’re baked, let them cool on the baking sheet for a few minutes. They will be incredibly hot, and you don’t want to lose a fingerprint to a delicious but molten-hot mummy.
Step 5: Give Them Sight
This is the final, crucial touch. Once the mummies have cooled down just enough to handle, it’s time to give them a face. Use a tiny dab of mustard or ketchup as “glue” to stick on the candy eyeballs.
Press them on gently in that little space you left open. Suddenly, your delicious baked goods have become adorable, slightly bewildered-looking characters. It’s the magic of googly eyes—they make everything better.
Pro-Tips from a Seasoned Mummy Maker
I’ve made my fair share of these over the years, and I’ve learned a few things. Here are my top tips to ensure your Puff Pastry Mummies are the talk of the town.
- Cheese-Stuffed Surprise: Want to take these to the next level? Before wrapping, make a slit down the length of each hot dog and stuff it with a thin strip of cheddar or mozzarella cheese. A cheesy, gooey center makes everything better.
- Spice Up Your Bandages: For a more savory kick, you can sprinkle your puff pastry strips with a little garlic powder, paprika, or even some Parmesan cheese before wrapping.
- Make-Ahead Magic: You can assemble the mummies a few hours ahead of time. Just keep them covered in the refrigerator on the baking sheet. Then, right before your guests arrive, brush them with the egg wash and pop them in the oven. They are definitely best served warm and fresh.
- Don’t Over-Thaw: Seriously, watch your puff pastry. If it gets too warm and soft, it will be a sticky, frustrating mess. If you notice it getting floppy, just pop it back in the fridge for 10-15 minutes to firm up.
Serving Your Spooky Snack Army
You’ve done it. You have a tray of hot, flaky, adorable Puff Pastry Mummies. Now what? Presentation is half the fun!
Arrange them on a platter with small bowls of your chosen dipping sauces. I like to get a little theatrical and call the ketchup “blood” and the mustard “ooze.” Is it cheesy? Yes. Do people love it? Absolutely.
These are perfect for a Halloween party appetizer, a fun after-school snack for the kids, or even a silly and festive dinner. There’s really no bad time for a Puff Pastry Mummy, is there?
So go ahead, give it a try. This is one of those recipes that’s almost impossible to mess up, but the results make you look like a culinary genius. You’ll have a blast making them, and your friends and family will be seriously impressed. This Halloween, you’re not just making a snack; you’re making a memory. And a delicious one at that. Happy haunting

Puff Pastry Mummies
Ingredients
Method
- Preheat oven to 400°F (200°C) and line a baking sheet with parchment paper.
- Unroll the puff pastry on a lightly floured surface. Use a sharp knife or pizza cutter to cut thin strips (about ¼ inch wide) to resemble bandages.
- Wrap each hot dog or sausage with pastry strips, leaving a small gap near the top for the mummy’s ‘face.’ Tuck the ends of the pastry under the sausage to secure.
- Place the wrapped mummies on the prepared baking sheet. Whisk the egg with water and brush lightly over the pastry for a golden finish.
- Bake for 18–20 minutes, or until the pastry is puffed and golden brown.
- Remove from the oven and let cool slightly. Add candy eyes (or dots of mustard/mayo) to create faces.
- Serve warm with ketchup or mustard for dipping.
Notes


