

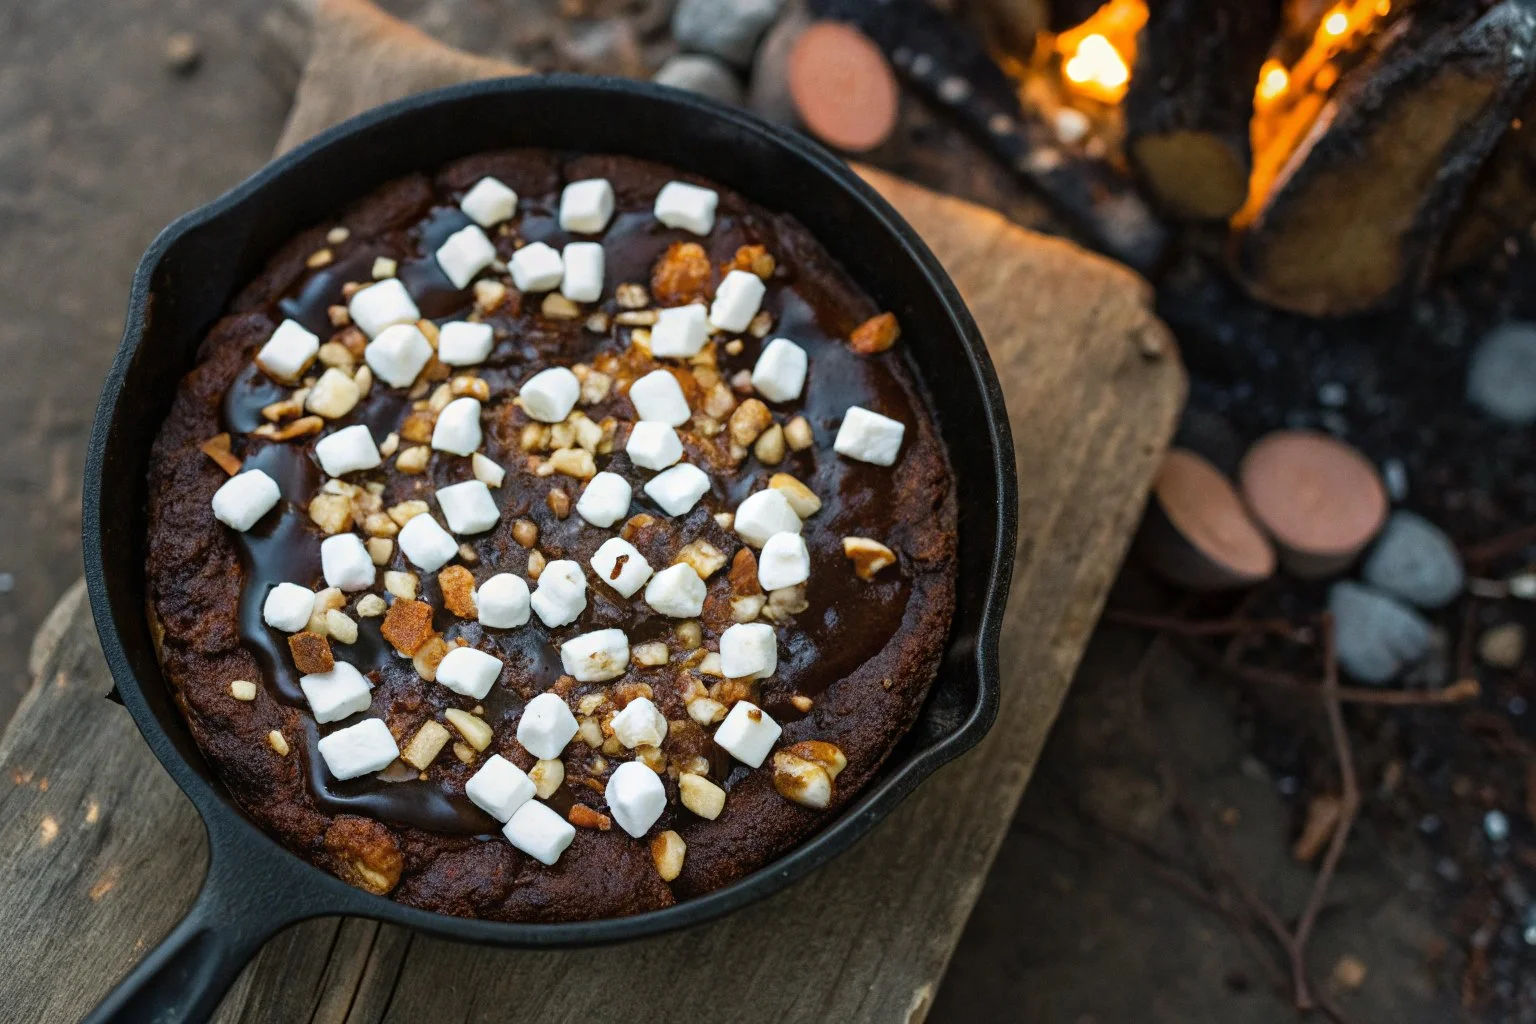
This Campfire Brownies recipe is your ticket to a gooey paradise under the stars. It takes about 30 minutes from prep to plate and serves a crowd — perfect for your next outdoor adventure! You may also find Best Homemade Red Velvet Brownies useful.
The Story Behind
Ah, campfire nights! There’s something magical about gathering around the flames, sharing stories, and enjoying delicious treats. What’s the one dessert that can elevate that experience? Brownies! Combining the rich flavors of chocolate with the smoky charm of a campfire, these brownies become an unforgettable star on your camping menu. Plus, who can resist the smell of melting chocolate and toasted marshmallows wafting through the air? Trust me; this recipe will become your new camping staple.
5 Reasons You’ll Love This Recipe
- Quick and Easy: With just a few ingredients, you’ll whip these up faster than you can tell a ghost story.
- Crowd-Pleaser: Everybody loves brownies, and these campfire treats get an extra thumbs-up from kids and adults alike.
- Customizable: Add your favorite toppings, like nuts or fruits, to make it uniquely yours.
- Outdoor Fun: Cooking over a fire adds a fun twist to traditional baking.
- Perfectly Gooey: The combination of melted chocolate and marshmallows creates a mouthwatering texture that you can’t beat.
Ingredients You’ll Need
| Ingredient | Quantity | Notes |
|---|---|---|
| Brownie mix | 1 box | Your favorite brand works! (Look for variations) |
| Eggs | As per box instructions | Usually 2 |
| Oil | As per box instructions | Can substitute with melted butter for a richer flavor |
| Water | As per box instructions | Standard addition |
| Caramel candies | 1 cup | For delicious gooeyness |
| Mini marshmallows | 1 cup | The more, the merrier! |
| Roasted salted almonds | ½ cup | For that crunchy contrast |
| Vanilla ice cream | For serving | Because who doesn’t want a scoop on top? |
How to Make (Step-by-Step)
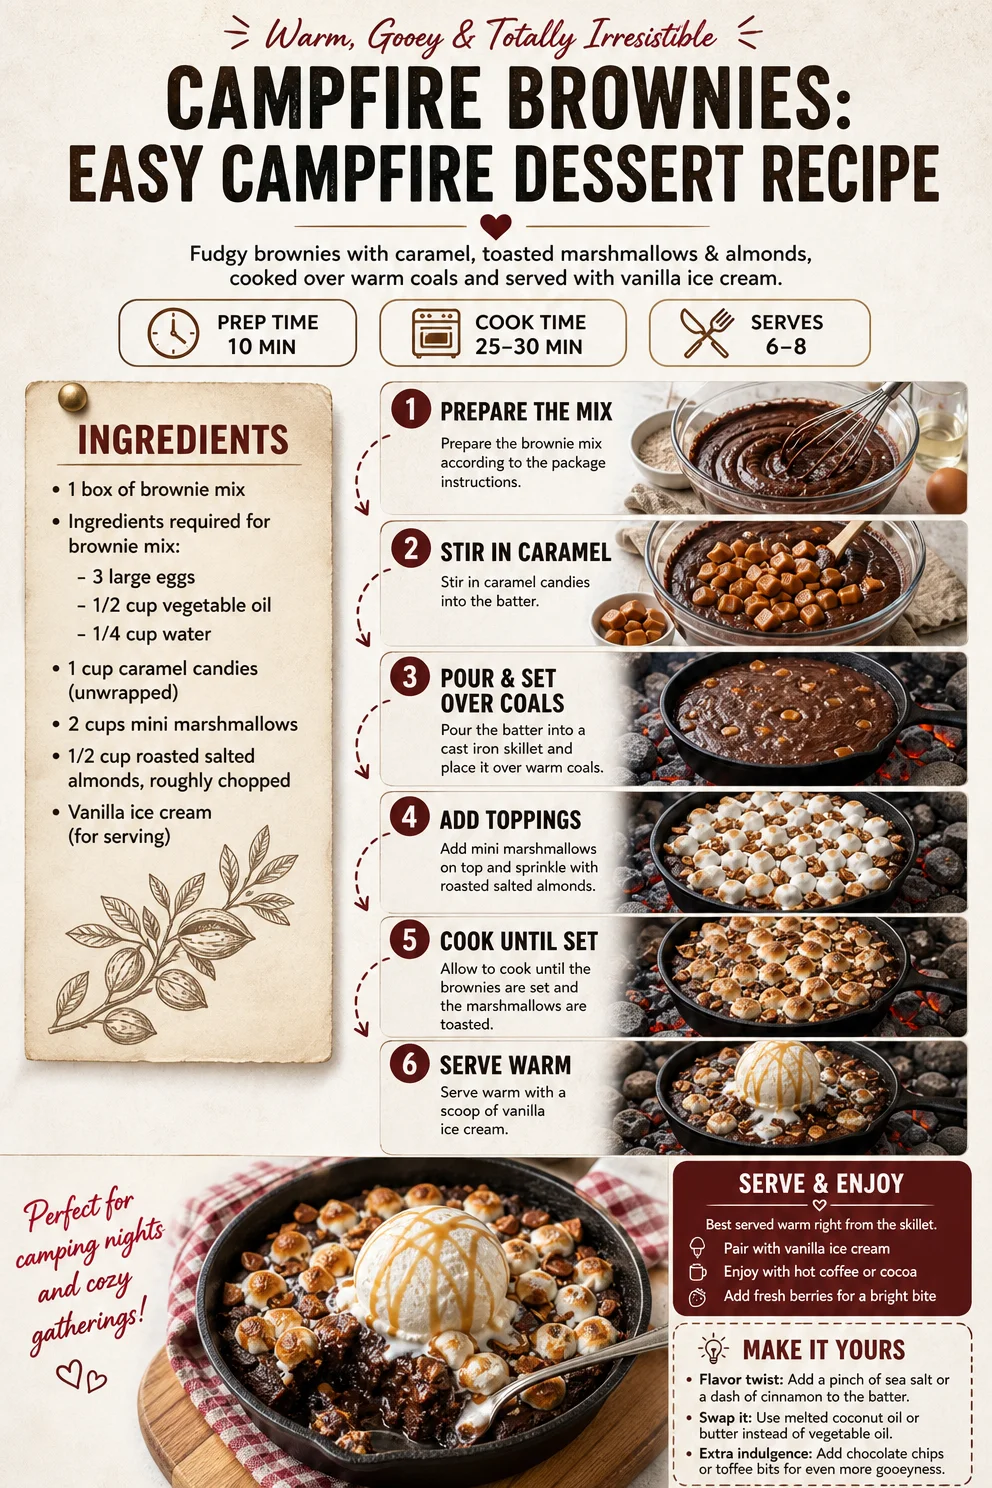
STEP 1
Prepare the brownie mix according to the package instructions. Yes, I know it sounds boring, but trust me, it’s necessary to set that perfect base!
STEP 2
Stir in the caramel candies into the batter. This is where the magic starts! The caramel will melt beautifully, giving your brownies that sweet twist.
STEP 3
Pour the batter into a cast iron skillet and place it over warm coals. Make sure it’s evenly spread out to cook perfectly.
STEP 4
Add mini marshmallows on top and sprinkle with roasted salted almonds. Seriously, don’t skip this part! It’s all about achieving that glorious melted topping.
STEP 5
Allow to cook until the brownies are set and the marshmallows are toasted. Keep an eye on them—nobody wants burnt brownies when they could have gooey perfection.
STEP 6
Serve warm with a scoop of vanilla ice cream. I mean, is there anything better than warm brownies and cold ice cream? I think not!
Pro Tips for the Best Results
- Use a Cast Iron Skillet: It holds heat well and gives the brownies that delightful crust.
- Keep the Fire Controlled: A steady, moderate heat works best. Too hot, and you risk burnt edges.
- Experiment with Toppings: Combine chocolate chips, nuts, or even a pinch of sea salt for extra flavor.
- Use a Lid: If you have one, cover the skillet. It helps the brownies cook evenly and keeps them moist.
- Don’t Rush It: Let those marshmallows toast nicely for that perfect golden crust.
Fun Variations & Topping Ideas
Variations:
- Nutty Brownie Delight: Add pecans or walnuts for a crunchy texture.
- Minty Fresh: Mix in mint chocolate chips for a refreshing twist.
- Fruit Fusion: Toss in some raspberries or strawberries for a fruity kick.
Toppings:
- Chocolate Drizzle: Who can say no to more chocolate?
- Caramel Sauce: Drizzle it on top for extra gooeyness.
- Sprinkles: Because, well, sprinkles make everything more fun!
Storing and Reheating
Storing:
Keep any leftovers in an airtight container at room temperature for up to two days. After that, they might start to lose the magic.
Reheating:
To revive that warm gooeyness, pop them in the microwave for about 10-15 seconds. Enjoy that melted goodness all over again!
Leftover Ideas
If you happen to have leftovers (good luck with that!), crumble them over a scoop of yogurt for a fun breakfast. Alternatively, try adding them to your morning smoothie for a chocolatey twist!
Frequently Asked Questions (FAQ)
Can I make these brownies without a campfire?
Absolutely! You can bake these in an oven at 350°F (175°C) in a traditional baking dish. Just adjust the time to about 25-30 minutes.
How can I customize the brownie mix?
Look for different flavors such as peanut butter or espresso to change things up!
What if I don’t have a cast iron skillet?
You can use any oven-safe pan, but ensure it’s sturdy enough to withstand direct heat.
Conclusion
Incorporating the fun of camping with the irresistible charm of brownies makes this recipe a must-try for any outdoor gathering. It’s quick, fun, and downright delicious! Don’t forget to let me know how your campfire brownies turned out, and you can check out this Cast Iron Skillet Campfire Brownies Camping Recipe for more great recipes. Happy camping and baking!
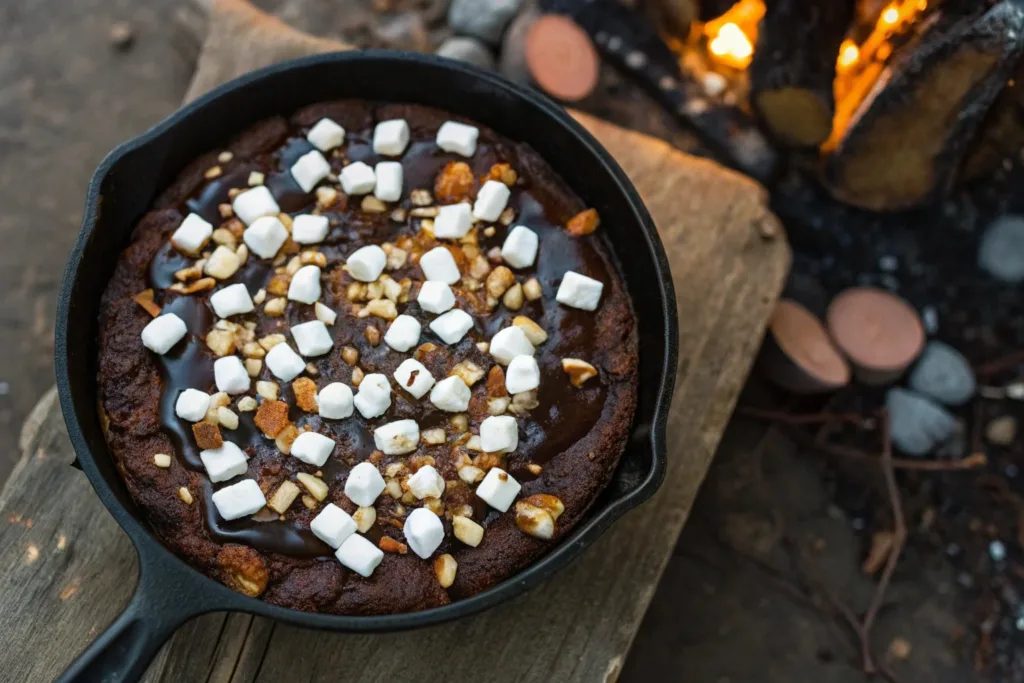
Campfire Brownies
Ingredients
Method
- Prepare the brownie mix according to the package instructions.
- Stir in the caramel candies into the batter.
- Pour the batter into a cast iron skillet and place it over warm coals.
- Add mini marshmallows on top and sprinkle with roasted salted almonds.
- Allow to cook until the brownies are set and the marshmallows are toasted.
- Serve warm with a scoop of vanilla ice cream.