

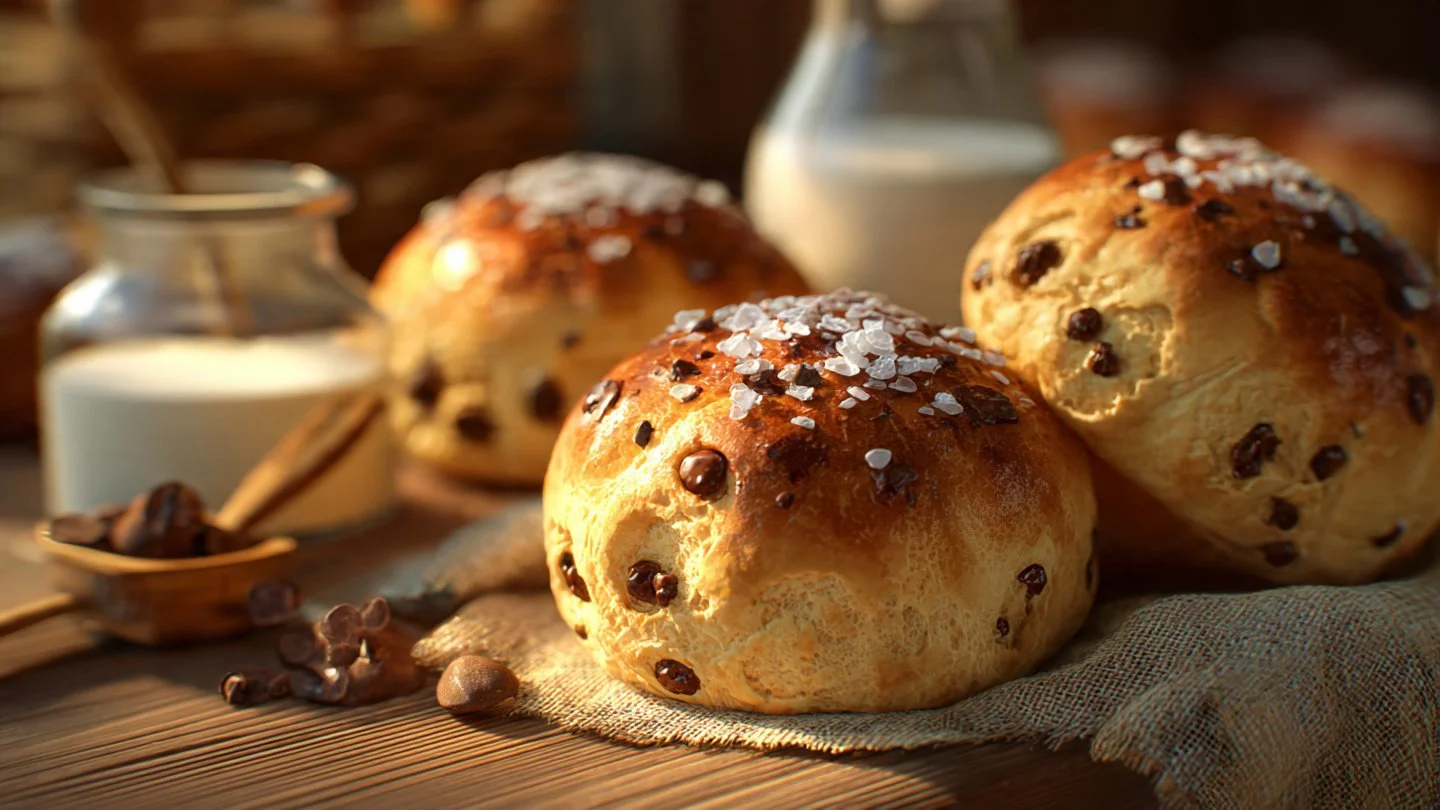
This Fluffy Chocolate Chip Milk Buns recipe is an absolute game-changer. It takes just 1 hour and 40 minutes and serves 10 (or 5, if you’re feeling indulgent). Trust me, you won’t want to share these!
The Story Behind
These milk buns feature a tender, fluffy crumb loaded with chocolate chips. Using warm milk in the dough helps create an exceptionally soft texture.

5 Reasons You’ll Love This Recipe
- Super Fluffy: These buns are the fluffiest things you’ll ever eat. Seriously. You’ll think you’re biting into a cloud.
- Quick and Easy: You can whip these up in under 2 hours, making them perfect for a weekend treat or a last-minute dessert for guests.
- Customizable: Want to mix it up? You can throw in raisins or dried cranberries instead of chocolate chips. Go wild!
- Perfect for Sharing: These buns are adorable and make for a fantastic centerpiece at any gathering or just a fun breakfast.
- Satisfies Your Sweet Tooth: They strike the right balance between sweet and savory, so there’s no guilt here!
Ingredients You’ll Need
Here’s what you’ll need to make these luscious buns:
| Ingredient | Quantity | Notes with alternatives |
|---|---|---|
| All-purpose flour | 450 g | |
| Whole milk (warmed) | 260 ml | (approx. 40°C) |
| Unsalted butter | 60 g | (softened or melted) |
| Fresh yeast | 1/2 Cube | (or 7g/1 packet active dry yeast) |
| Granulated sugar | 3 tbsp | |
| Baking powder | 1 tsp | (approx. 1/2 packet) |
| Salt | A pinch | |
| Chocolate chips | 150 g | |
| Vanilla extract | 8 g | (approx. 1 tbsp) |
| Milk (reserved for glazing) | 4 tbsp |
How to Make Fluffy Chocolate Chip Milk Buns (Step-by-Step)
STEP 1: Yeast Prep
In a large bowl, whisk together the warm milk, yeast, sugar, butter, and vanilla. Let it sit for about 10 minutes until foamy.
STEP 2: Mix & Knead
Stir in the baking powder, then gently fold in the chocolate chips until they’re evenly distributed.
STEP 3: First Rise
Place the dough in a greased bowl, cover it tightly, and let it rise in a warm spot for an hour. It needs that cozy environment to get super fluffy—who doesn’t appreciate a spa day?
STEP 4: Shape
Once the dough has risen, divide it into 10 equal portions and roll them into smooth balls. Place them on a parchment-lined tray. You can be as precise as you want here, but remember, they’re going to look adorable no matter what.
STEP 5: Second Proof
Cover the buns with a towel and let them rise again for another 20 minutes. This extra fluffiness is essential!
STEP 6: Glaze & Bake
Preheat your oven to 190°C (374°F). Brush the tops of the buns with milk and bake for 20-25 minutes until golden brown.
STEP 7: Final Glaze
As soon as they come out of the oven, brush those hot buns again with the remaining milk. It’s that milk trick that gives them that cotton-soft crust we all crave!
STEP 8: Cool
Let the buns cool slightly on a wire rack before diving in. You want to enjoy them at their best!
Pro Tips for the Best Results
- Warmth is Key: Ensure your ingredients aren’t cold from the fridge. A warmer starting point means a better rise.
- Mind Your Add-ins: If chocolate chips aren’t your thing, swap them out for raisins or dried cranberries for a fruit-filled twist.
- Brush, Don’t Douse: Don’t drown them in milk—just a light brushing will do wonders for that crust.
Fun Variations & Topping Ideas
Variations:
- Fruit Version: Replace chocolate chips with your favorite dried fruits. Dried blueberries? Yes, please!
- Nutty Buddy: Add some chopped nuts for an extra crunch.
Toppings:
- Glaze: Drizzle a simple sugar glaze over the buns for that extra sweet touch.
- Sprinkles: Who doesn’t love sprinkles? They add a fun pop of color.
Storing and Reheating
Storing:
Keep your leftover buns in an airtight container at room temperature for up to 3 days. If they last that long!
Reheating:
Pop them in the microwave for about 10-15 seconds to bring back the fluffiness. You’re welcome!
Leftover Ideas
If you manage to have any leftovers (which I doubt), try using them to make a spectacular bread pudding or simply toast them with a pat of butter. Yum!
Frequently Asked Questions (FAQ)
Can I use whole wheat flour instead of all-purpose flour?
You totally can! Just know that it might change the texture a little, potentially making it denser.
How can I tell if my yeast is active?
Give it a good test by mixing it with warm water and sugar. If it bubbles up after a few minutes, you’re golden!
Can I freeze these buns?
Absolutely! They freeze beautifully. Just make sure to wrap them tightly before popping them in the freezer.
Conclusion
These fluffy chocolate chip milk buns are an excellent homemade treat. For more baking inspiration, check out this recipe for milk buns.

Fluffy Chocolate Chip Milk Buns
Ingredients
Method
- In a large bowl, whisk together the warm milk, yeast, sugar, butter, and vanilla. Let it sit for about 10 minutes until it’s nice and foamy.
- Stir in the baking powder, then gently fold in the chocolate chips until they’re evenly distributed.
- Place the dough in a greased bowl, cover it tightly, and let it rise in a warm spot for an hour.
- Once the dough has risen, divide it into 10 equal portions and roll them into smooth balls. Place them on a parchment-lined tray.
- Cover the buns with a towel and let them rise again for another 20 minutes.
- Preheat your oven to 190°C (374°F).
- Give the tops of the buns a good brushing with some milk and bake for 20-25 minutes until they turn a beautiful golden brown.
- As soon as they come out of the oven, brush those hot buns again with the remaining milk.
- Let the buns cool slightly on a wire rack before diving in.